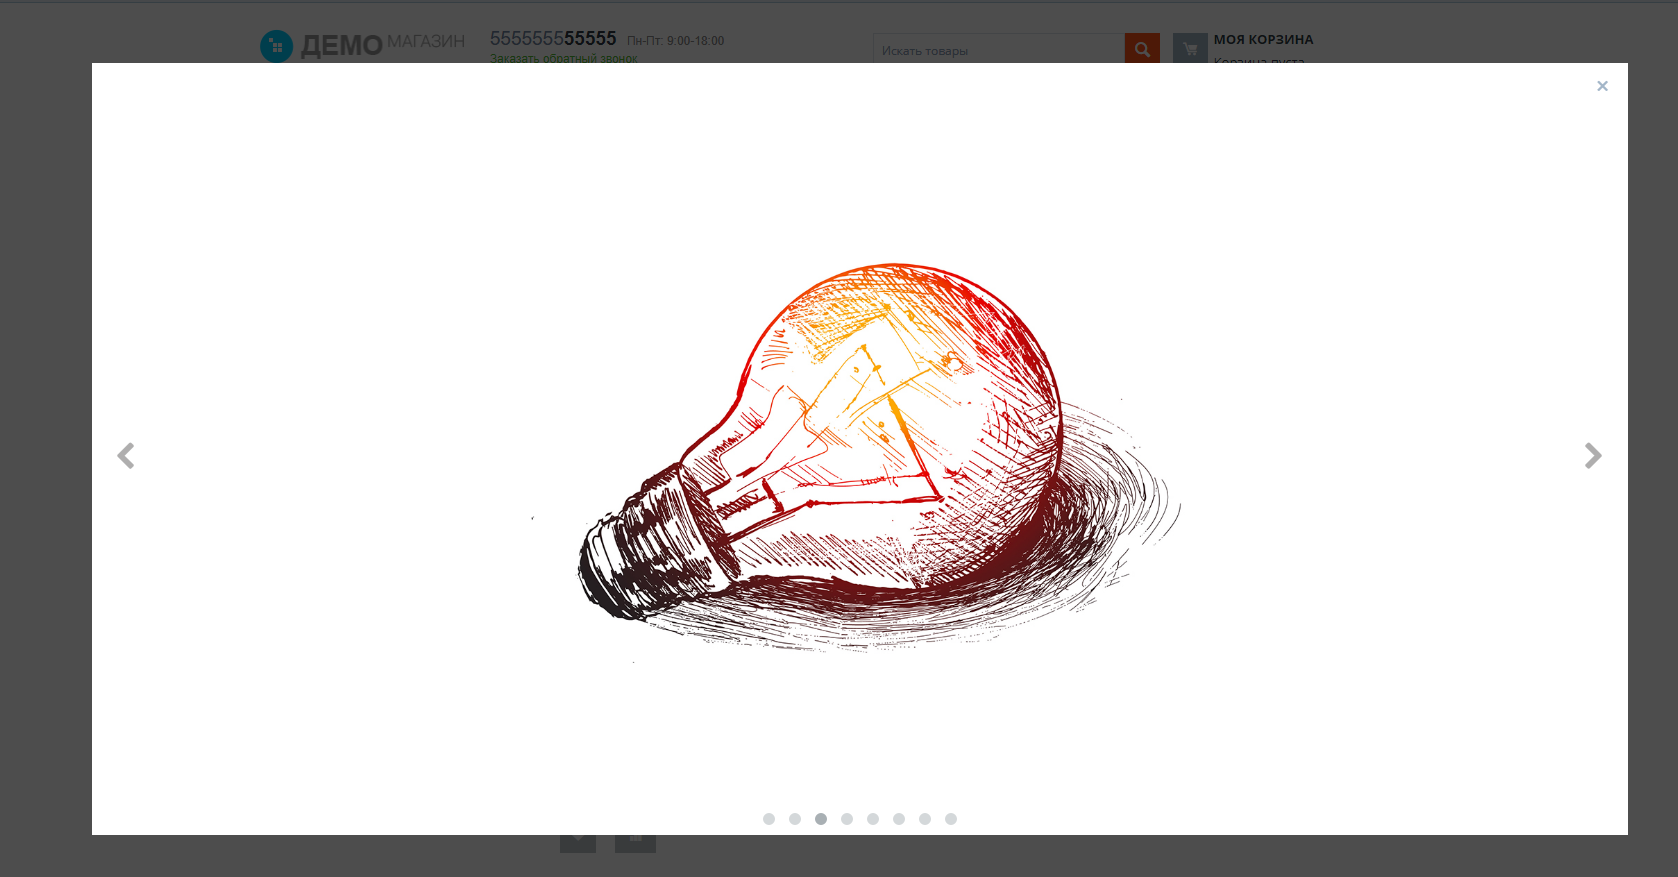
Image gallery in "Light Table" format for options options
The module allows you to upload customized images for options options.
Product variations and options: which is better?
Usually similar products that differ slightly, for example, in color or size, are issued in the form of variations. However, this option is good in cases where there are not too many product options and they are all available.
And if we are talking about individual production, for example, furniture, when there are dozens of options for colors and materials, several decor options, and so on. In this case, there will be too many variations. They will load the database, make the product card heavy, and at the same time no one will ever purchase most of the options.
In this case, the options are much more practical: for the buyer, the selection of a suitable option remains the same visual, and the product card does not swell to an incredible size.
Image for options options
Our module helps to make the selection of options more visual. You will be able to upload images for each option option. When you click on the image, the buyer will see a larger image that allows you to see individual details.
In this case, the graft and the detailed image are loaded separately, independently of each other. For example, to choose a color on the preview, just a color spot, circle or square is enough, and when you zoom in, you can give the buyer to consider not only the color, but also the texture of the material. You can configure the display of an enlarged fragment of the image by hovering the mouse cursor, as it happens with the image of the product in the card.
Please note that when hovering, as when clicking, an enlarged image is displayed, and not a picture loaded as an icon.
You can customize the choice of options by clicking on the image or in the drop-down list.
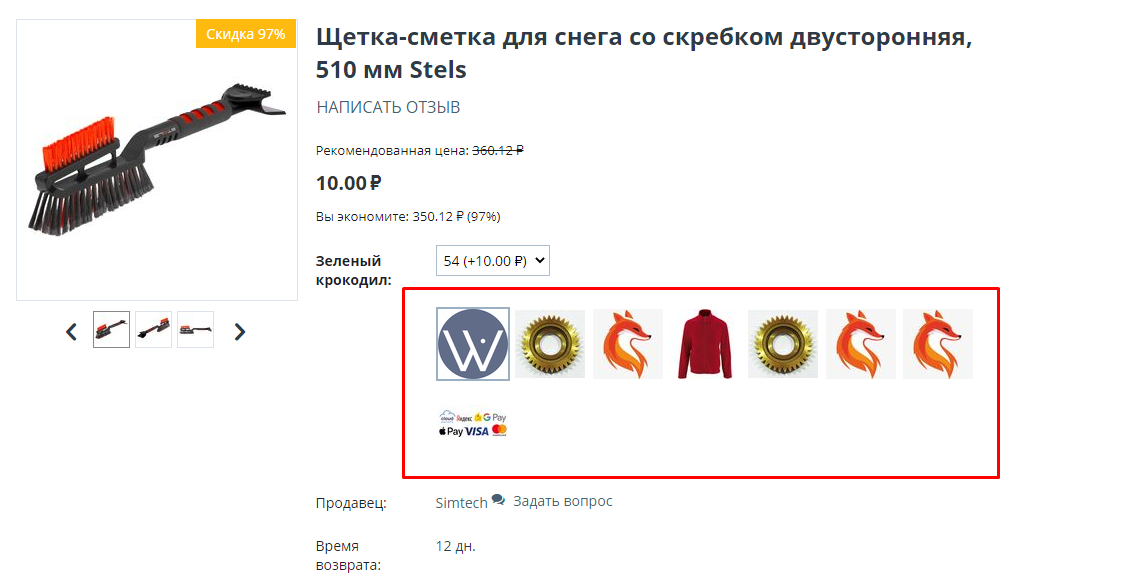
Magnification of an image fragment when the mouse cursor is hovered over.
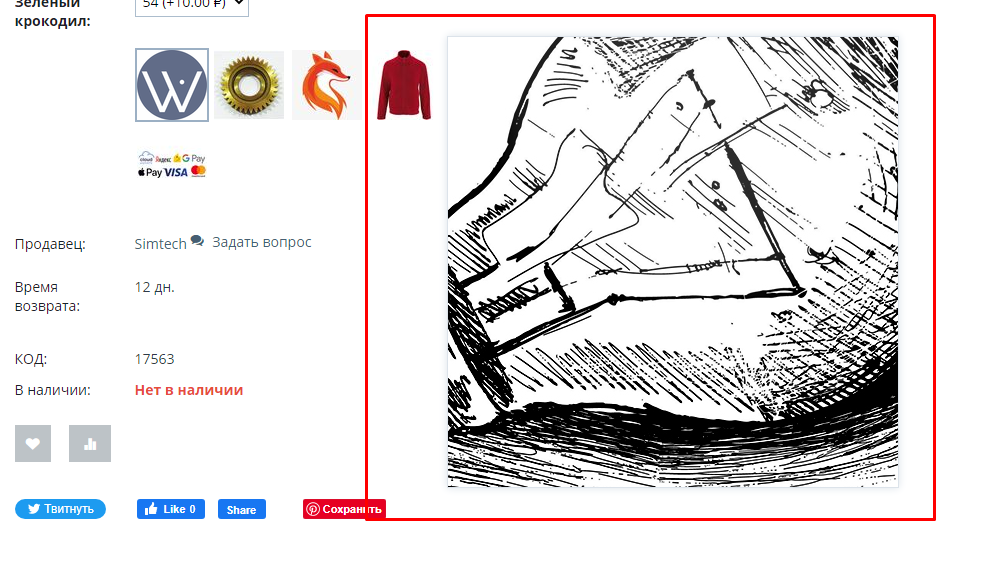
Disclosure of the image by mouse click.
CONTACTS
Up-to-date information about changes in the functionality of the module, as well as compatibility with other modules, is published in our Telegram channel and in the group VKONTAKTE
Telegram t.me/maurisweb
VKONTAKTEvk.com/maurisweb
You can submit a request to the support service, ask questions to the managers about the work or completion of the module via messengers, the groupVKONTAKTE and mail.
- WhatsApp +7-923-364-90-07
- Telegram t.me/mauriswebru
- Telegram +7-923-364-90-07
- VKONTAKTEvk.com/maurisweb
- E-mail: info@maurisweb.ru
Detailed instructions for working with the module
The instruction is current at the time of publication. The module is regularly updated and improved. There may be minor differences in the control of the module.
SCOPE OF APPLICATION
The module is suitable for online stores and marketplaces representing goods of individual production with a large number of options: individual tailoring, furniture production, printed publications.
TECHNICAL SPECIFICATIONS
- Makes it possible to add an individual image to the options options.
- When you hover the mouse cursor over the image icon in the product card, a light table opens with an enlarged image, giving you the opportunity to view the details.
Installing the module
1. Go to the Modules tab - License Manager - Module Management.

2. Open the tab corresponding to the type of purchase:
- Available module - license purchase,
- Subscription modules - modules purchased by subscription,
- Available packages - purchase of a package,
- Subscription Packages - packages purchased by subscription.
The modules for which the test period is designed are displayed in the "Available Modules" tab.
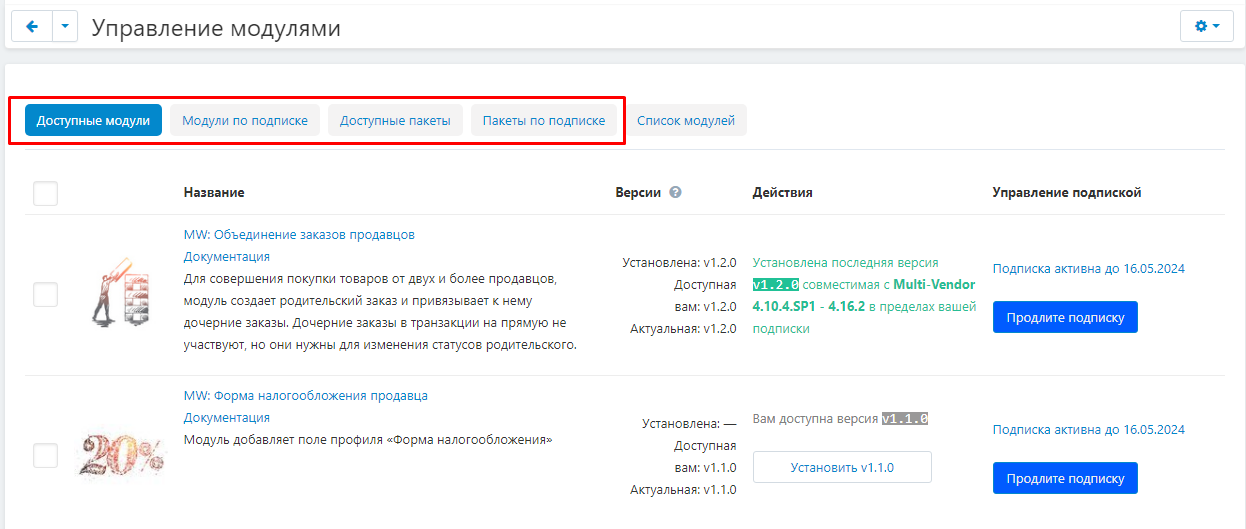
3. Find the module "Image Gallery for CMS CS-Cart and Multi-Vendor options" in the list and click install to the right of it.
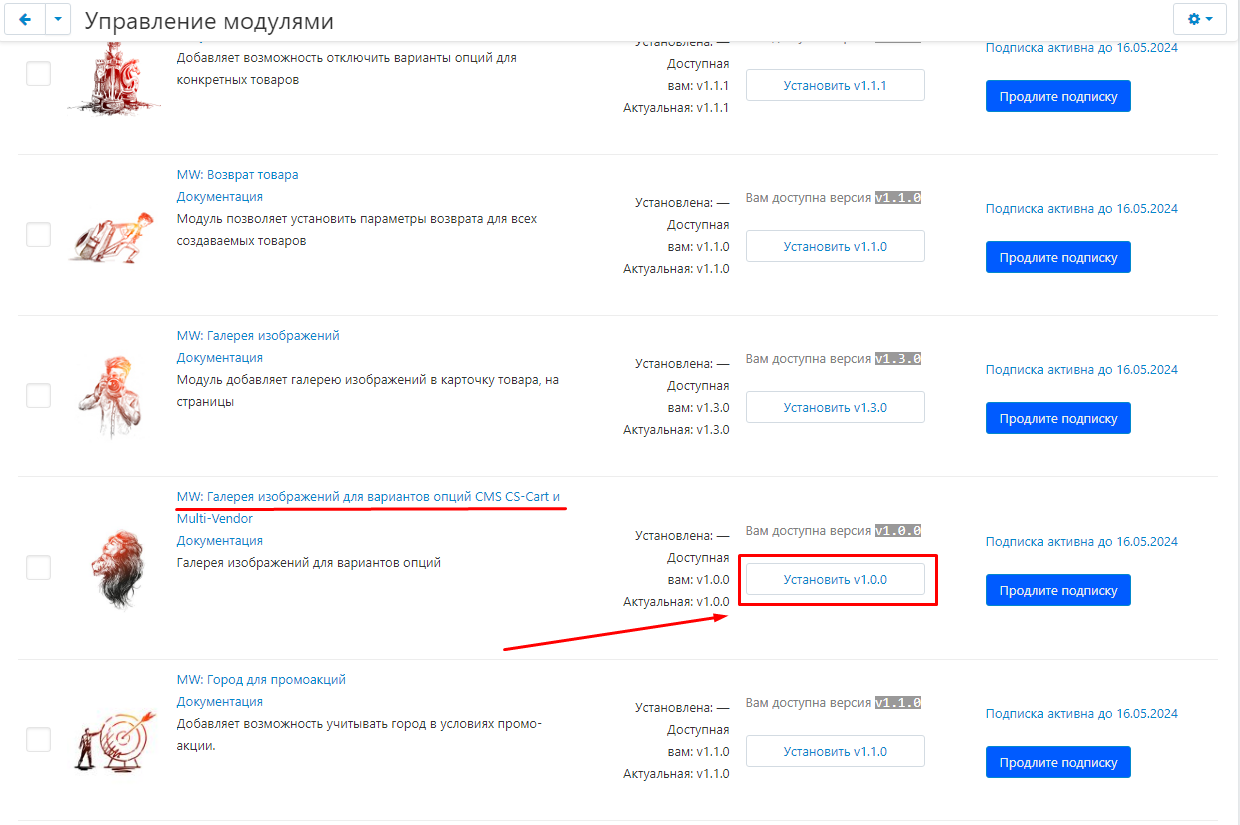
4. After installation, information about the current version and the availability of updates will be displayed here.

Module Setup
1. Go to the "Modules" - "Developers" - "Maurisweb" tab.

2. Find the module "Image Gallery for CMS CS-Cart and Multi-Vendor options" in the list and click on its name to go to the settings.
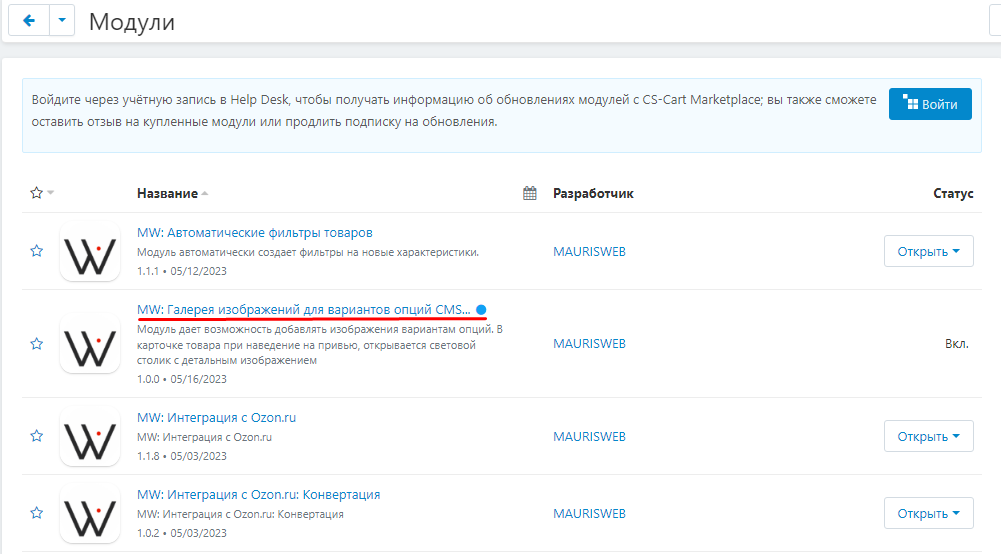
3. A page with a description of the module will open. Go to the "Settings" tab.

4. If the license key is not set automatically and the module settings are blocked, log in to your account at www.maurisweb.ru copy the license key and paste it into the appropriate item. The key has also been sent to your email.
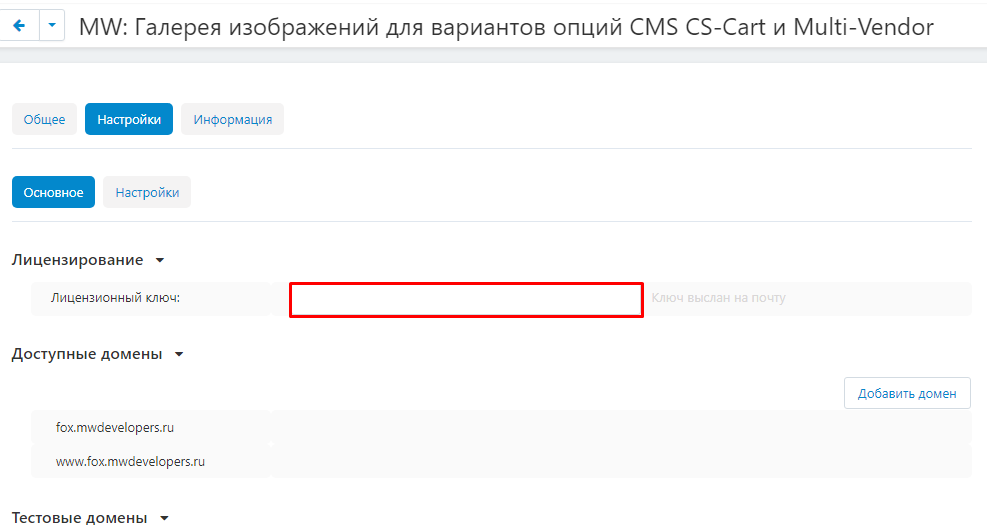
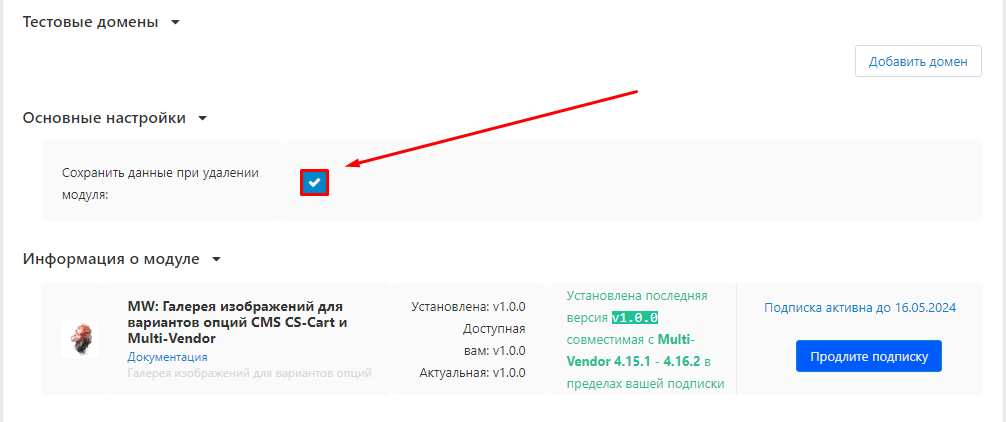
5. In the "Available domains" and "Test Domains" sections, check the validity of the specified domains. You can add additional domains by clicking on the white "Add Domain" button on the right side of the page.
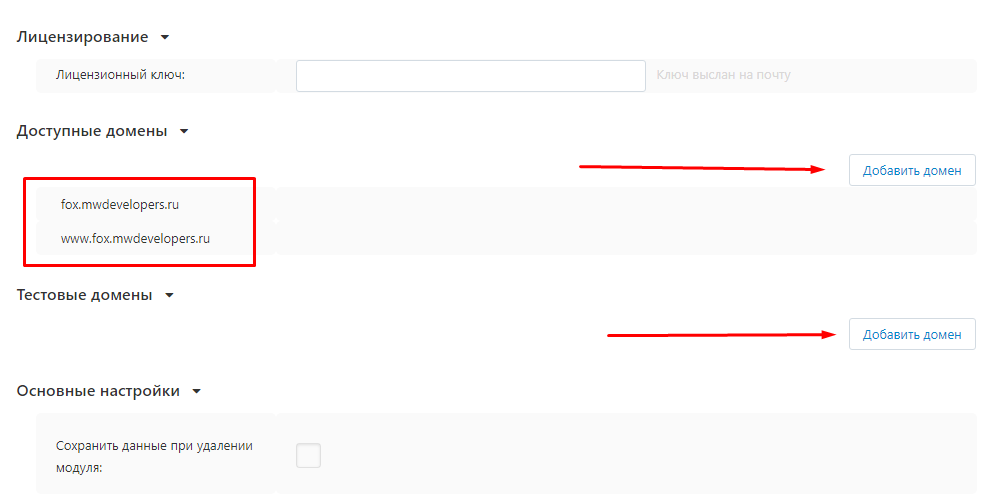
6. Check the box "Save settings when deleting the module" if necessary.
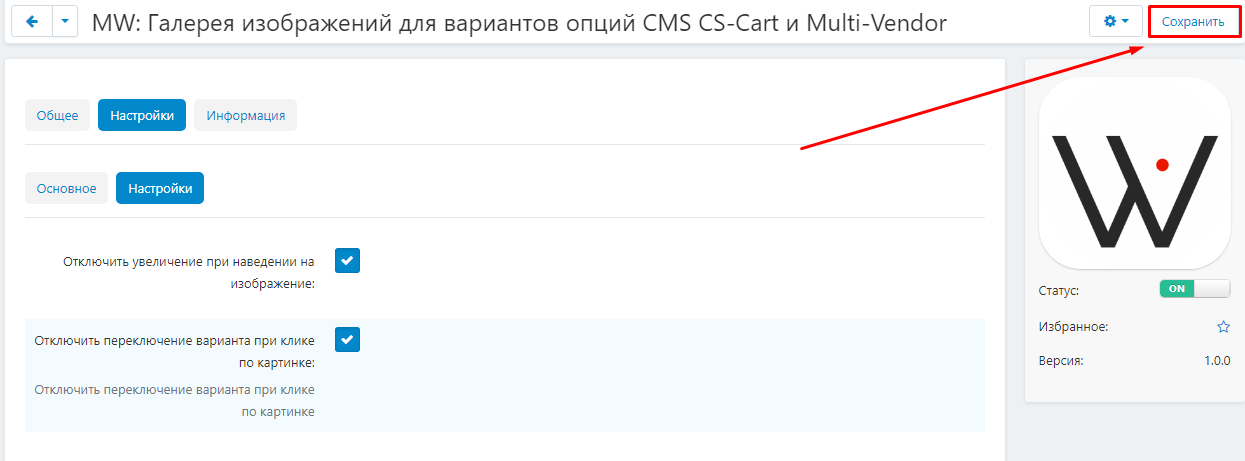
7. Go to the "Settings" tab.

8. If you are not going to upload a detailed image of the option option, then check the box "Disable magnification when hovering over the image".

9. If necessary, check the box "Disable option switching when clicking on the image".

10. Click the "Save" button in the upper right corner.
Module functionality
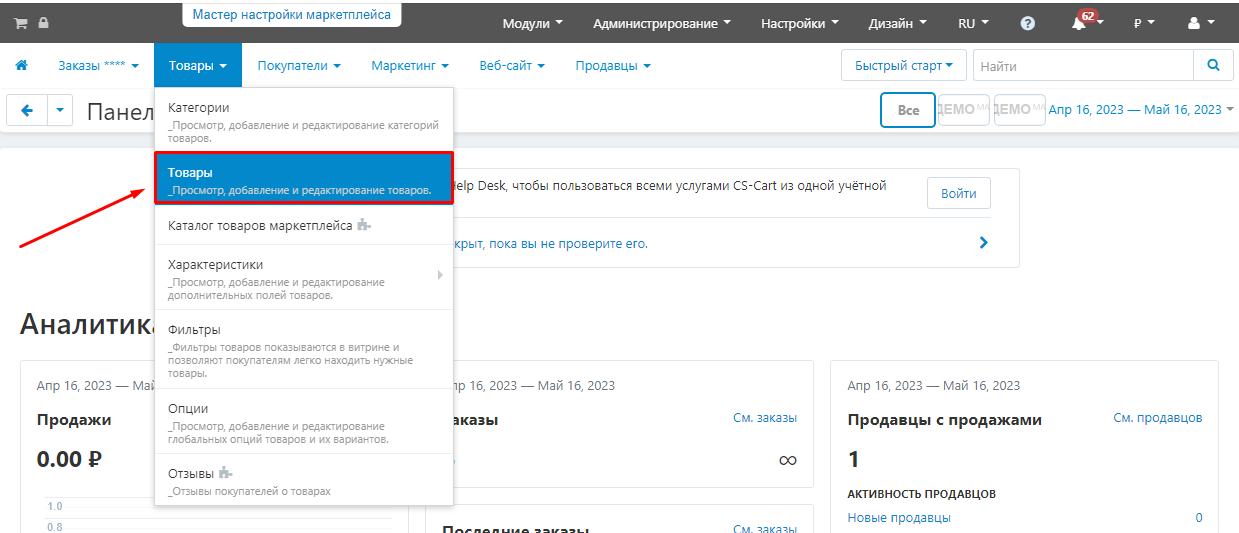
1. Go to the "Products" tab - "Products".
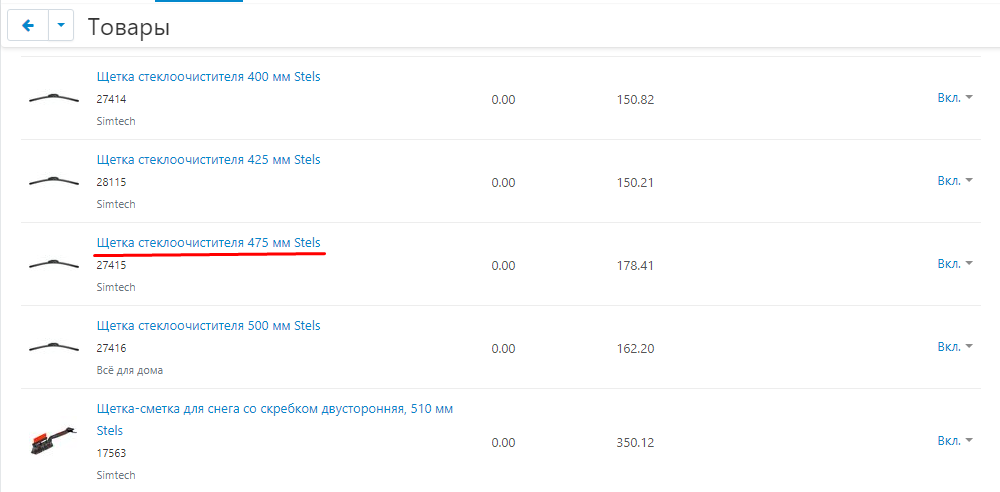
2. Select the desired product from the list and go to the product card by clicking on its name.
3. Go to the "Options" tab.

4. Create a new option or link an existing one to the product.

5. Click on the name of the option to proceed to editing.

6. On the options page that opens, go to the Options tab.
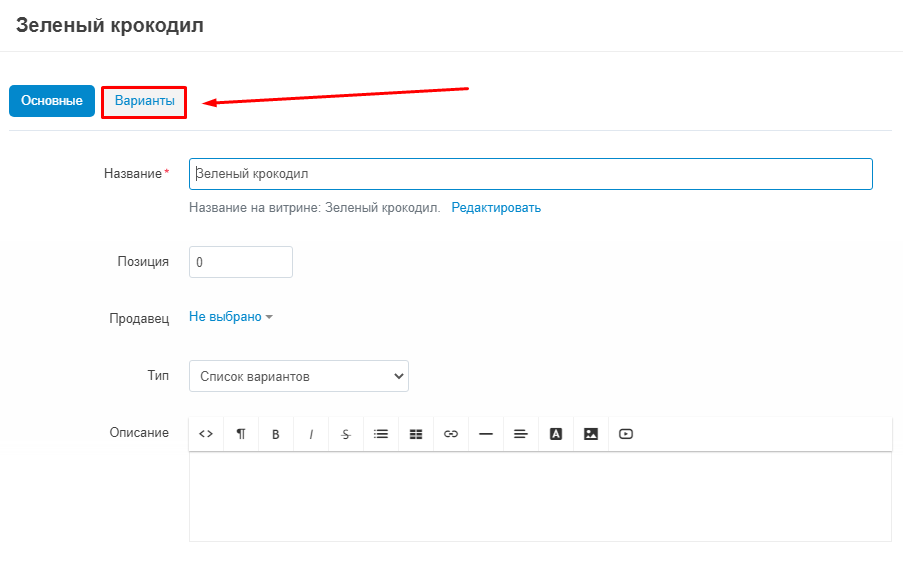
7. Next to the desired option, find the triangle button and click it.
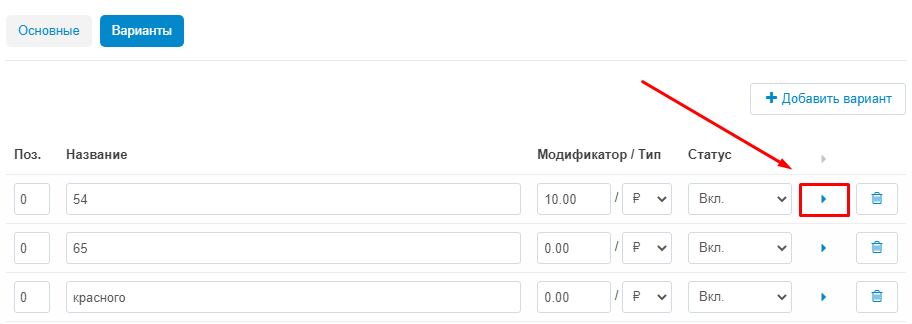
8. Upload an icon: a small image that will be displayed in the product card to select an option. You can download it from your computer, from the server or by link.

9. Upload an enlarged image: a more detailed image that will open when you hover over the mouse cursor icon.You can download it from your computer, from the server or by link.

10. Please note: if the image on the icon and the enlarged image match, then you can upload only the enlarged image. The icon will be created based on it automatically.

Important: The number of enlarged images should correspond to the number of options available.
11. Click the "Save" button in the lower left corner of the page.
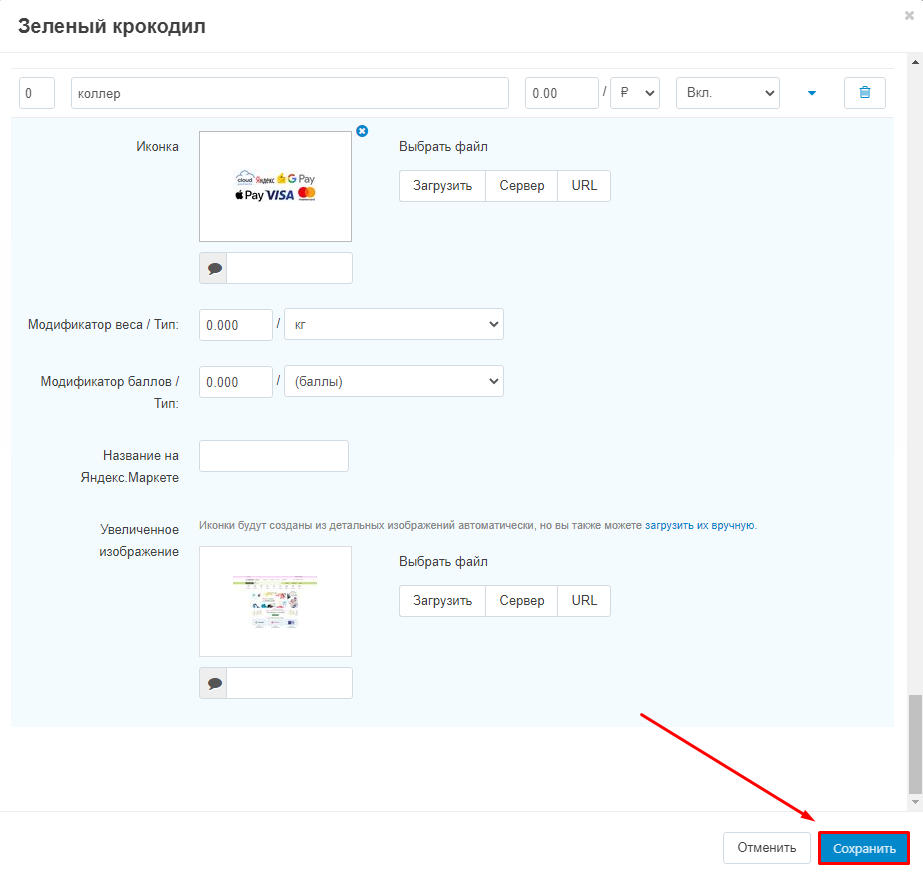
Example
The image viewer, enabled by default, is responsible for the design and display of the image.

