Merchant card privileges for Multi-Vendor
Merchant card privileges for Multi-Vendor
The module expands the administrator's capabilities by adjusting the vendor's privileges and restrictions in the product cards.
It includes the functionality of the module "Limiting the number of selectable categories for a product".
SCOPE OF APPLICATION
The module is suitable for large marketplaces interacting with a large number of vendors. In this case, it is especially necessary that each of the sellers comply with a single standard for the design of the product card.
APPLICATION EXAMPLE
The marketplace has more than ten vendors with various products and only two administrators. Thanks to the module and its settings, administrators can not check each of the created product cards, since the module is configured in such a way that without filling in certain information, the product will not appear on the storefront.
SPECIFICATIONS
The module allows you to customize the privileges of displaying items in the merchant's product card:
- Hides selected tabs (tags, SEO, attachments, etc.)
- Selecting a tab to set privileges
- Sets the display settings for modules in the product card tab (hits, reviews, ratings)
- Selecting modules to add the privilege to
Introduces additional functions for managing product cards:
- Allows you to remove links from text
- Sets a limit on the number of photos
- Sets a limit on the number of categories
- Makes image, product description and shipping fields mandatory
Makes changes to the product card settings:
- Raises the promo text up under the photo
- Delivery parameters are removed from the tab and added to the main menu
MODULE SETTINGS
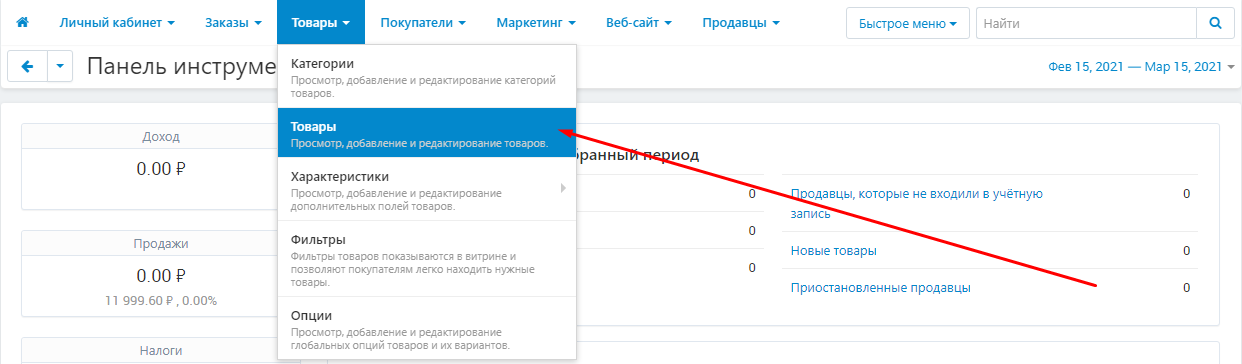
1. To configure a module, go to the "Modules" tab, in the pop-up menu, select "Modules Management" and the "MAURISWEB" section.

2. In the list that opens, select the module you are interested in and click on its name, highlighted in blue or black.

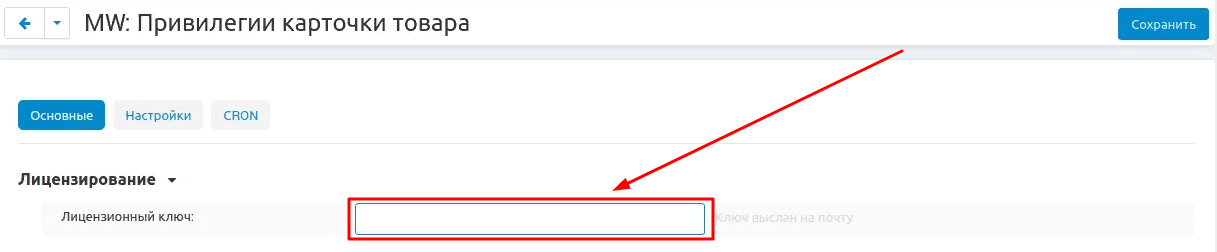
3. On the page that opens, select the "General" tab, go to the "Licensing" section and in the "License key" field, enter the license key that is available in your account at www.maurisweb.ru in the list of purchased modules and also sent to you by e-mail.
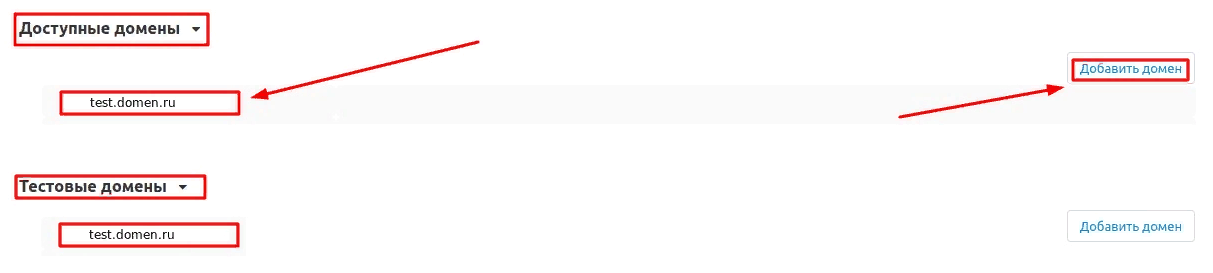
4. In the "Available domains" and "Test domains" sections, check the correctness of the specified domains. You can add additional domains by clicking on the white "Add Domain" button on the right side of the page. The total number of domains should not exceed three.
5. Go down below, select the "Basic settings" section and tick the box "Save data when removing the module" so as not to lose them when reinstalling the module.

6. Go to the "Settings" tab and click on the "Check goods for fullness" button.

7. A verification window will appear, wait for its end.

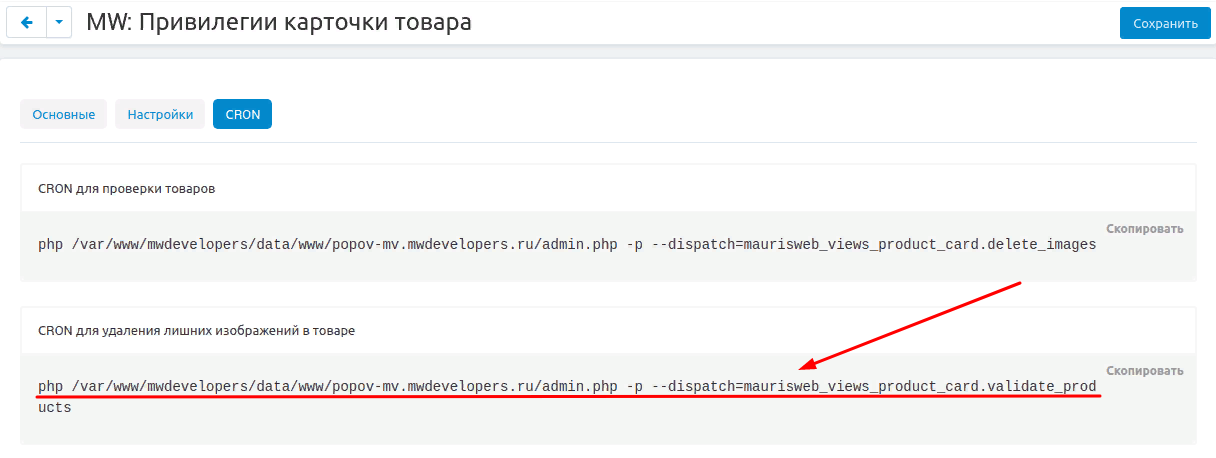
8. Go to the "CRON" tab. To set up goods checking, enter the appropriate CRON command in the scheduler.
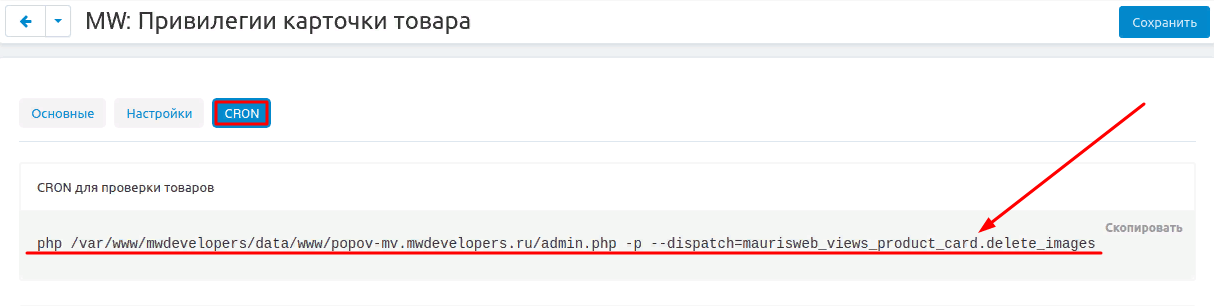
9. To configure the removal of unnecessary images in the product, enter the appropriate CRON command in the scheduler.
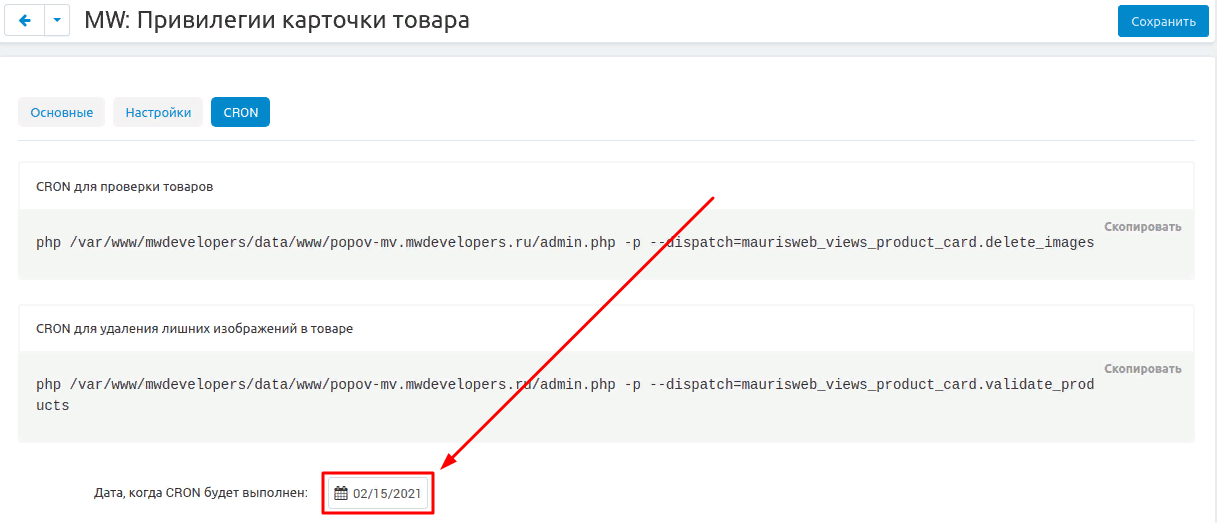
10. In the "Date when CRON will be executed" field, select the desired date.
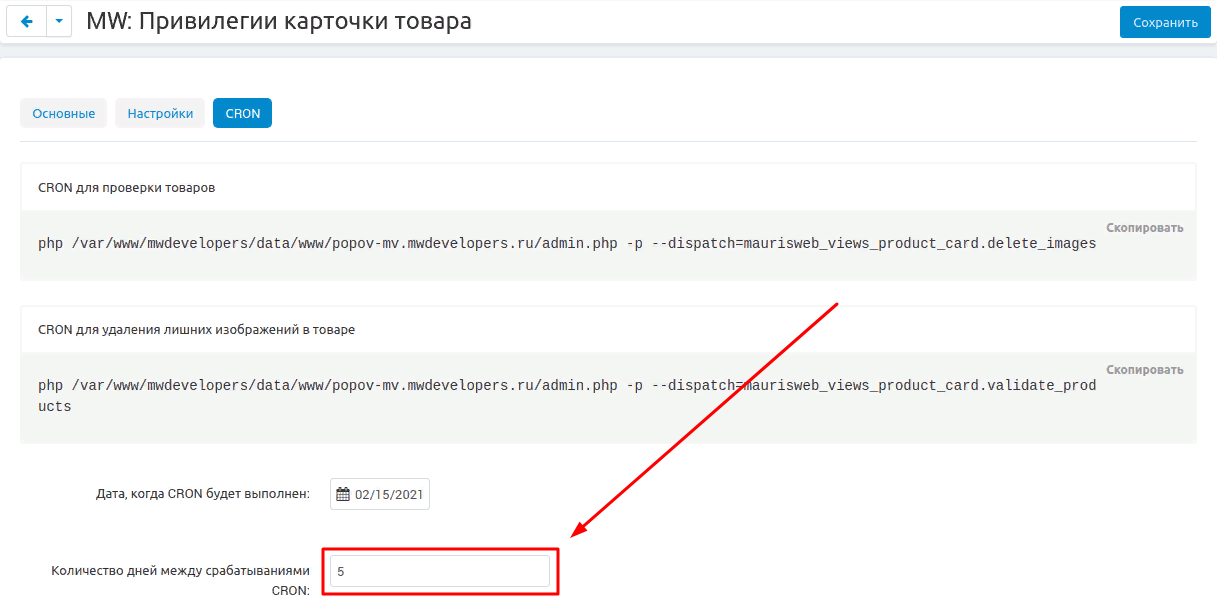
11. In the "Number of days between CRON triggers" field, enter the required number of days in digits.
12. Save the module settings by clicking on the blue "Save" button at the top right of the panel.

PRIVILEGE
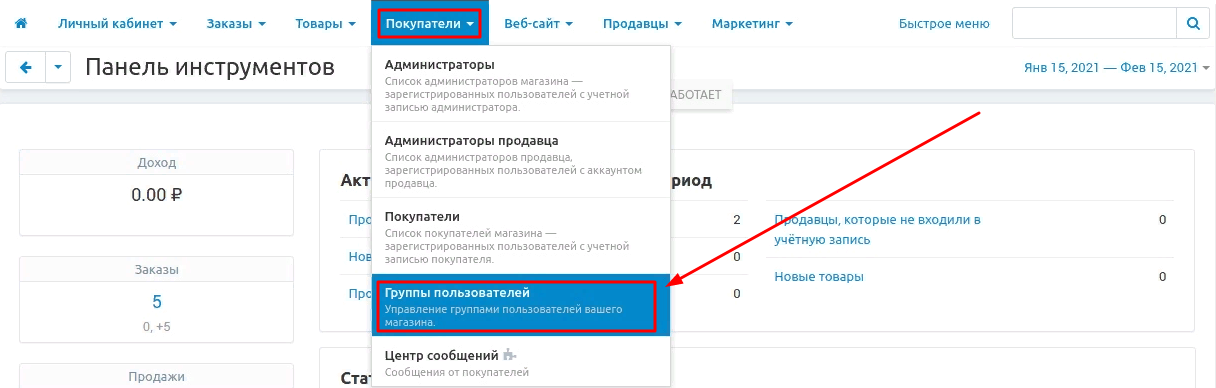
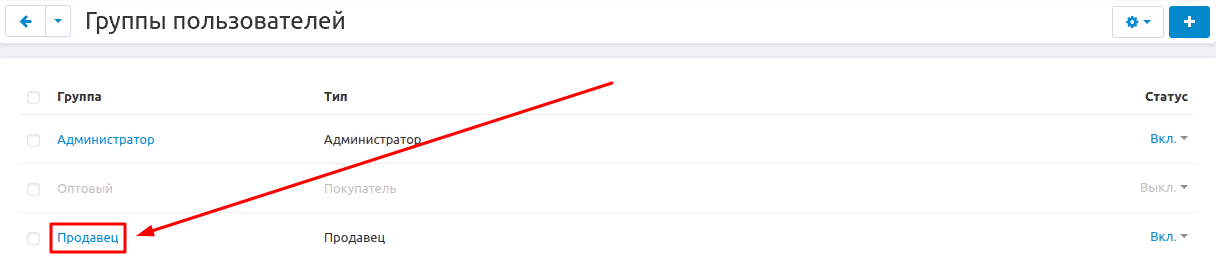
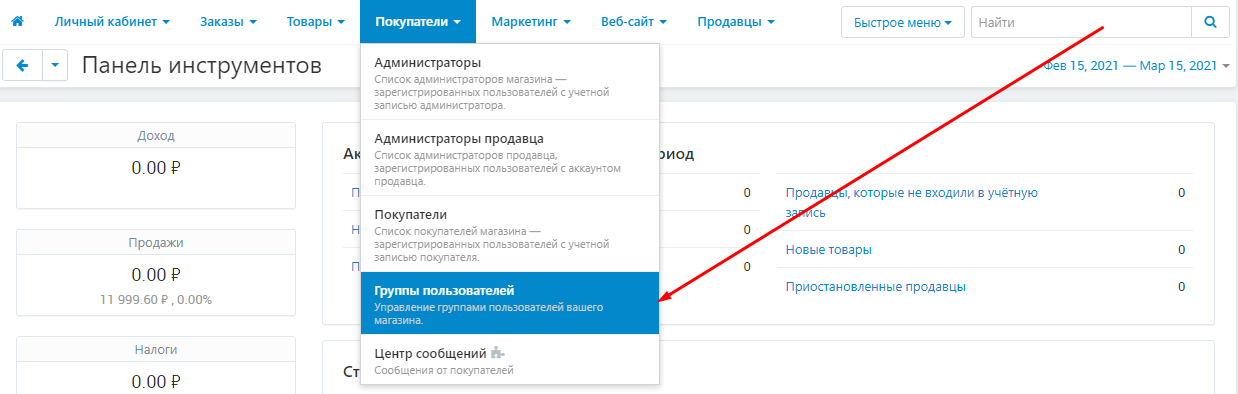
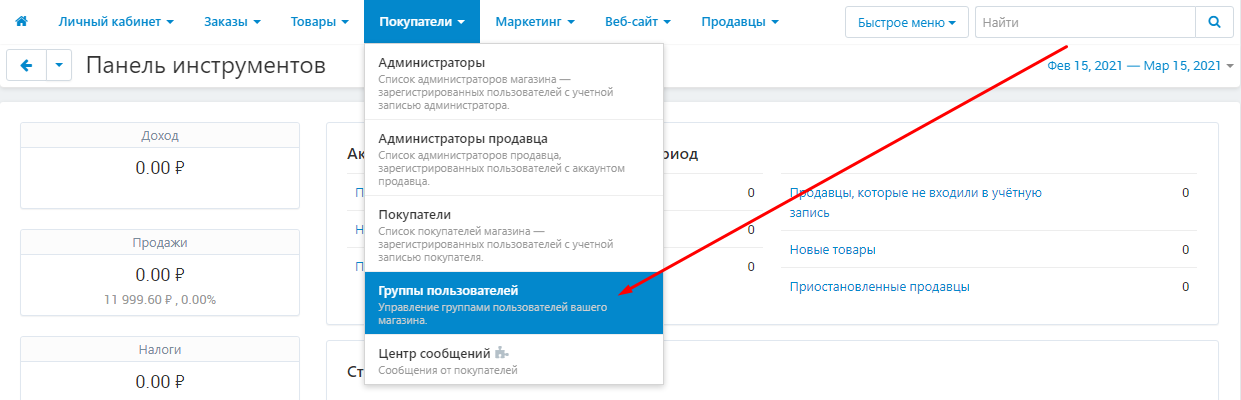
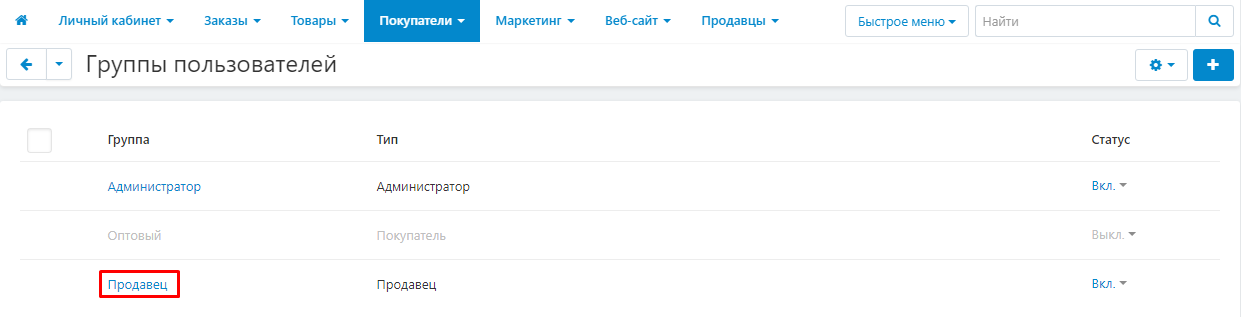
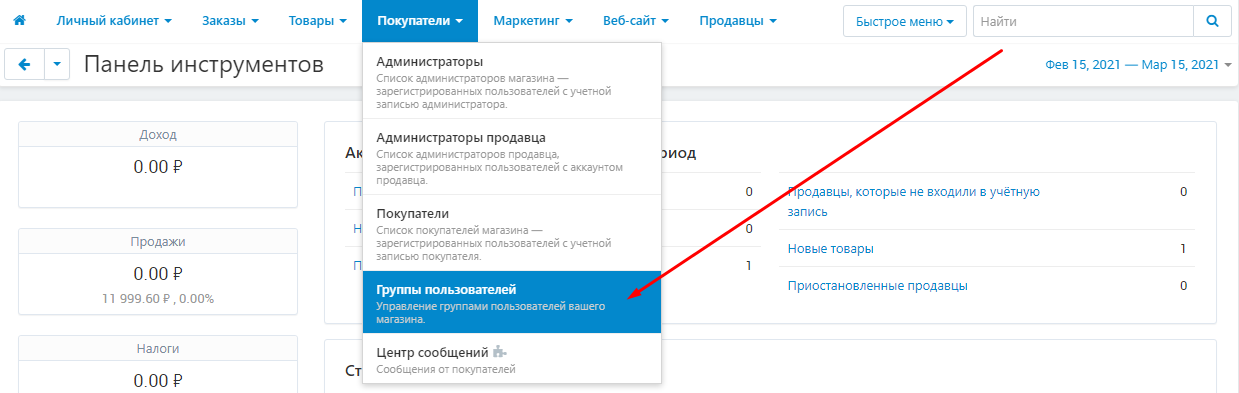
1. To set privileges, go to the "Customers" tab and select the "User Groups" section.
2. On the page that opens, select a user group.
3.
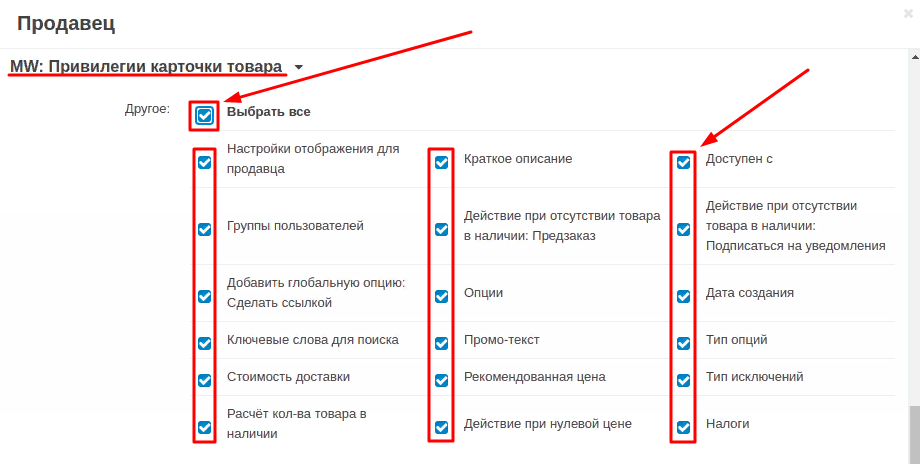
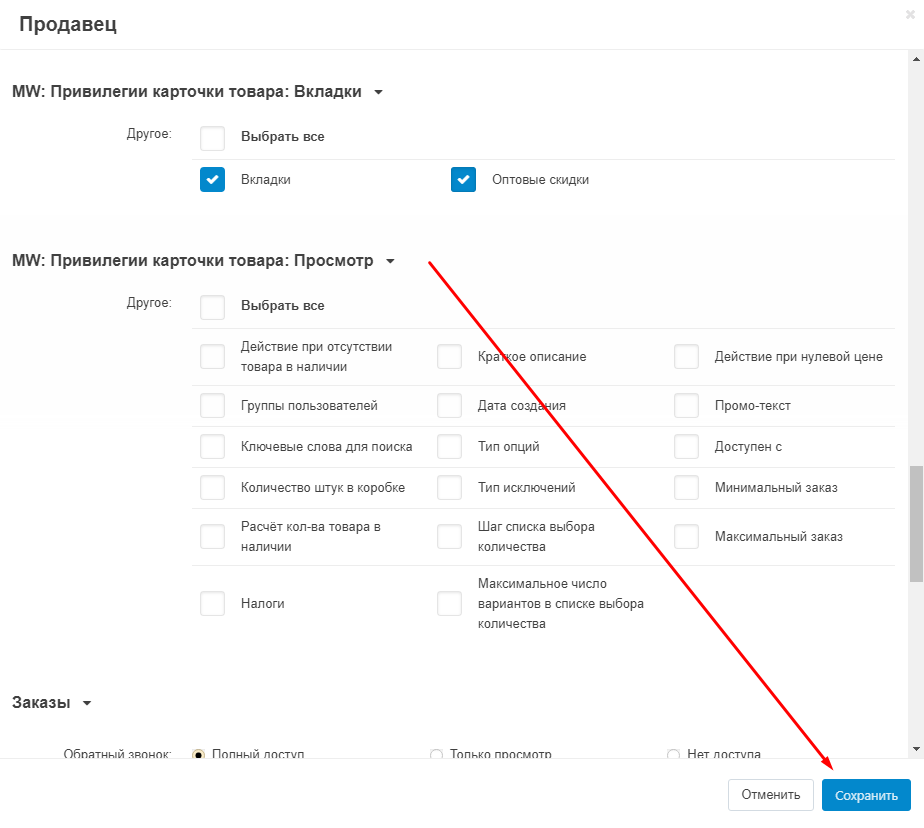
In the window that opens, select the "MW: Product Card Privileges" section and check the box for the privileges you want to give the user access to. You can mark all available items by checking the "Select all" box or highlight one of the available ones:
"Display settings for the seller"
"Group of users"
"Add Global Option: Make Link"
"Search keywords"
"Cost of delivery"
"Calculation of the quantity of goods in stock"
"Short description"
"Action in the event of an out of stock: Preorder"
"Options"
"Promo text"
"Recommended price"
"Action at zero price"
"Available from"
"Out of stock action: Sign up for notifications"
"Date of creation"
"Option type"
"Exception type"
"Taxes"
4. After all the required items are selected, click on the blue "Save" button in the lower right corner of the window.
FUNCTIONALITY OF THE MODULE
FILLING IN THE PRODUCT CARD
1. Go to the "Products" tab and select the "Products" section.
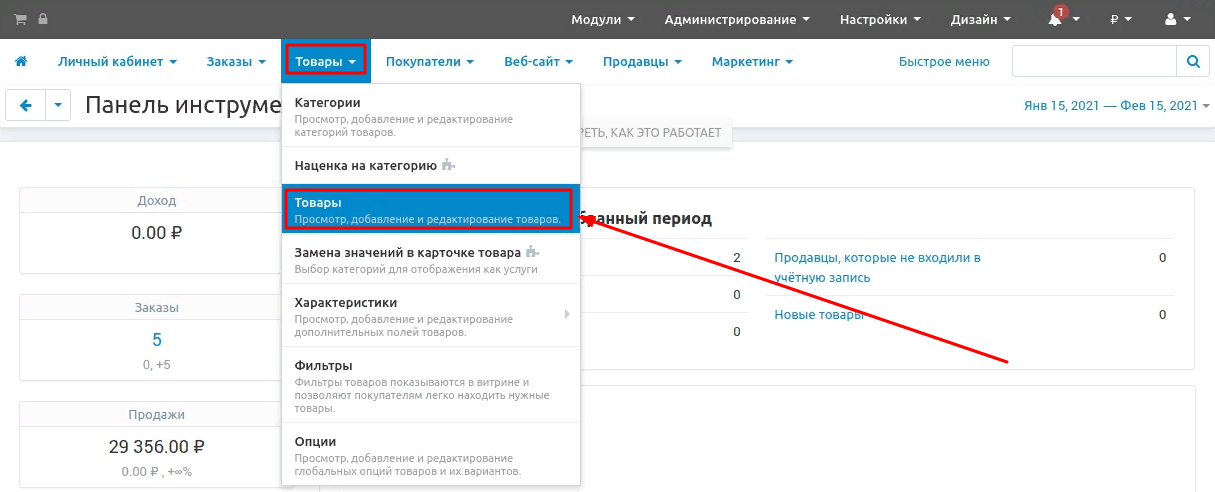
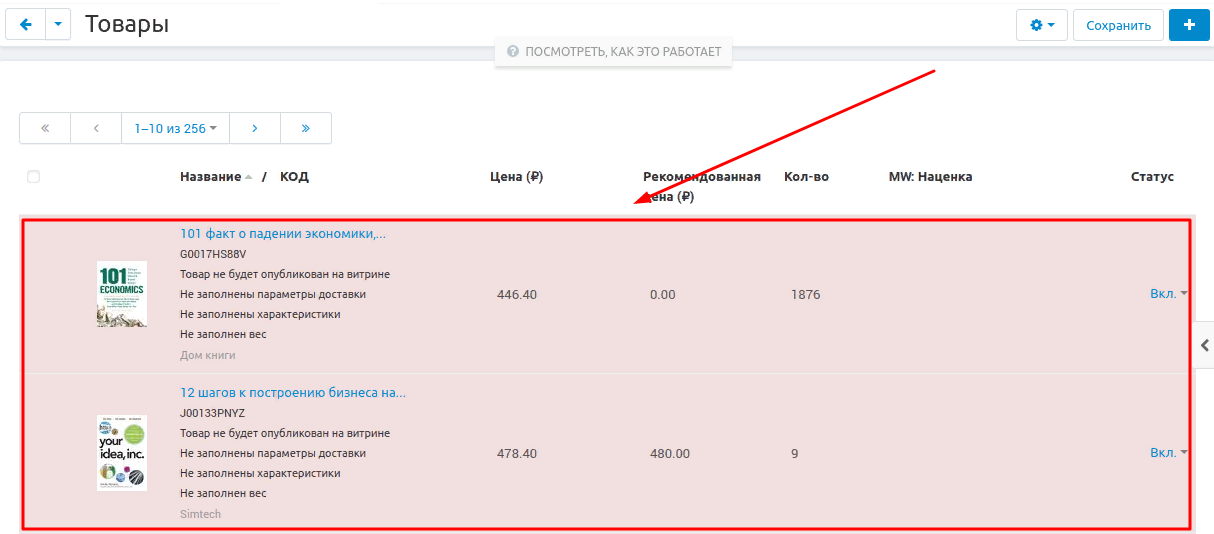
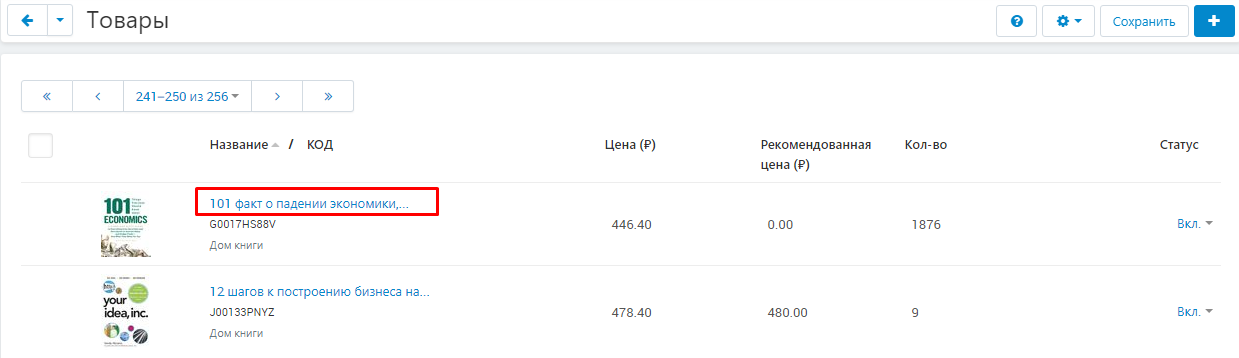
2. Immediately after installing the module, a number of product fields become mandatory (if they are not filled in, the product can be saved, but it will not be displayed on the storefront). They are also marked in red if all the required fields are not filled in.
All required fields are now labeled "This field must be filled in to display the product on the storefront!".
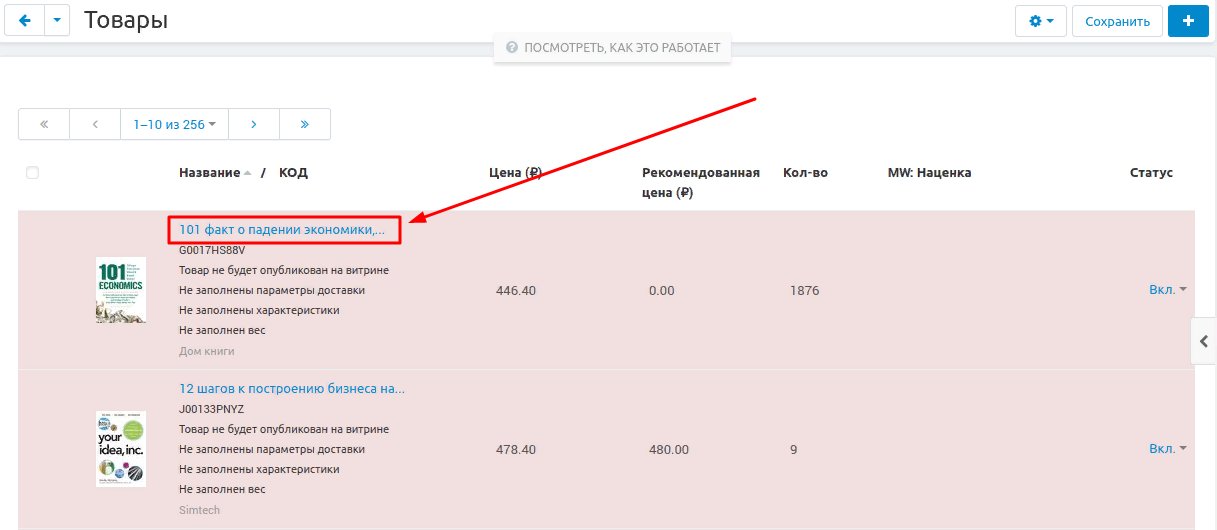
3. To fill in all the required items, enter the product card by clicking on its name, highlighted in blue or black.
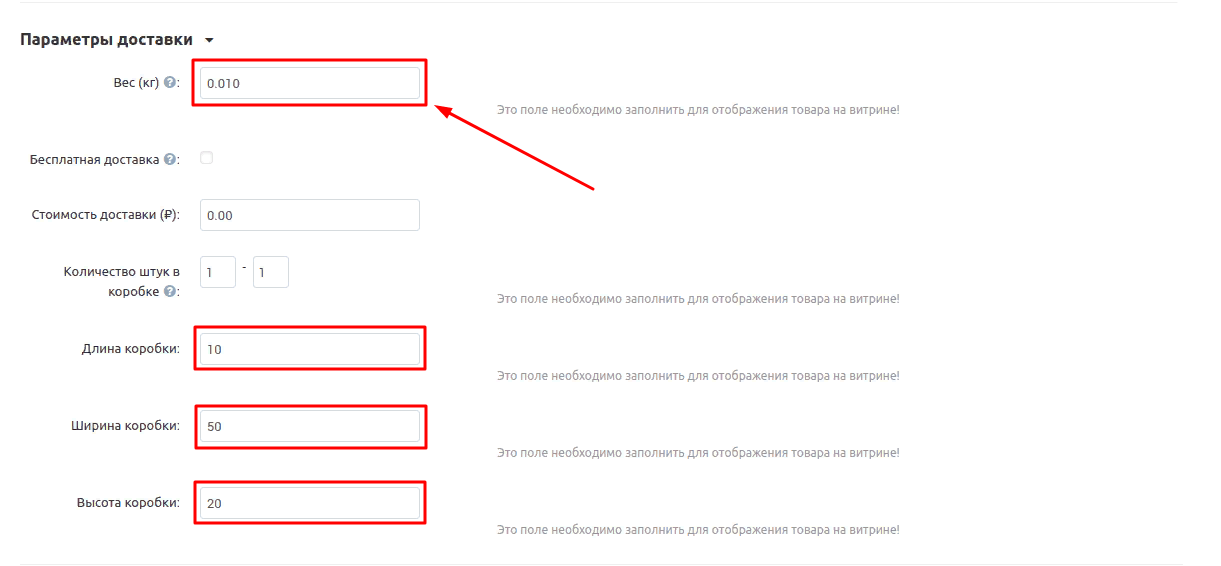
4. The fields that need to be filled in will also be highlighted in red. Next to it there will be an inscription "This field must be filled in to display the product on the storefront".

5. After filling in the appropriate fields, click on the blue "Save" button in the upper right corner of the panel.

6. After saving, the selection will disappear.
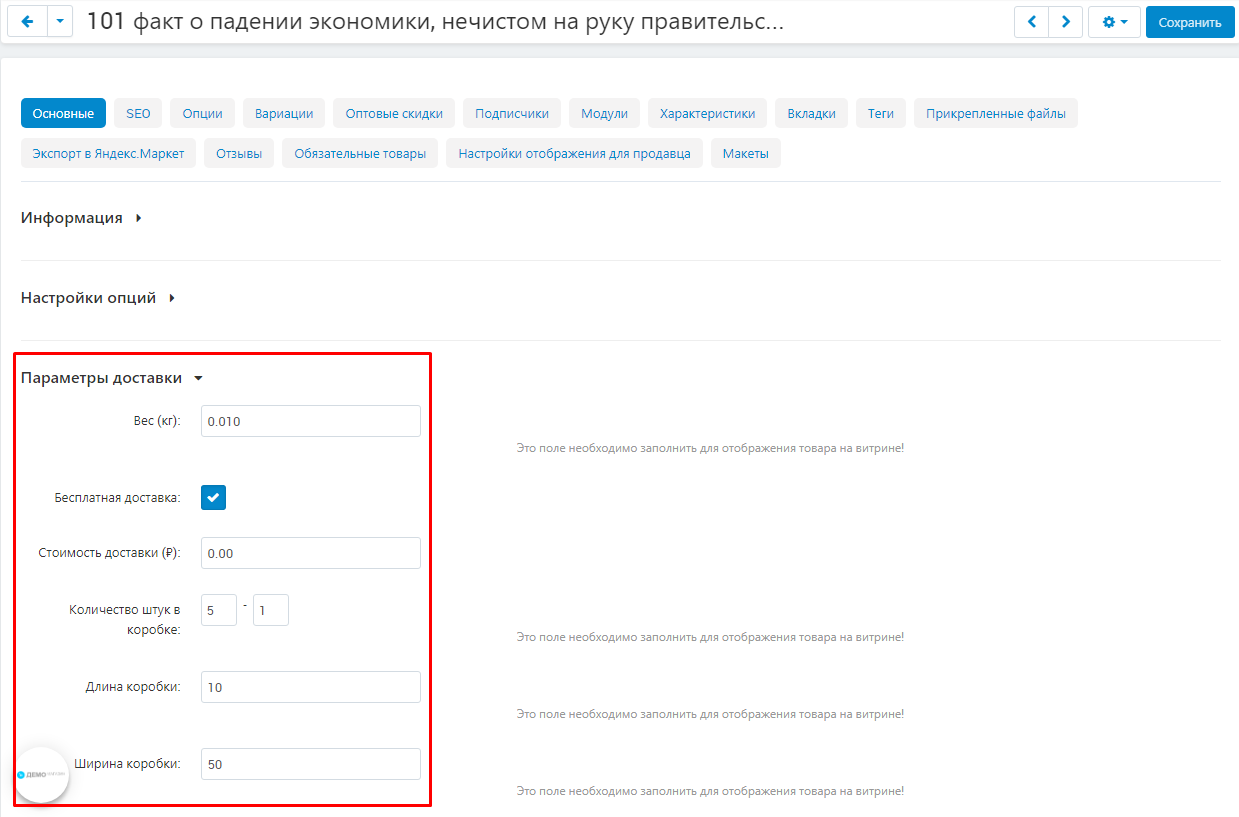
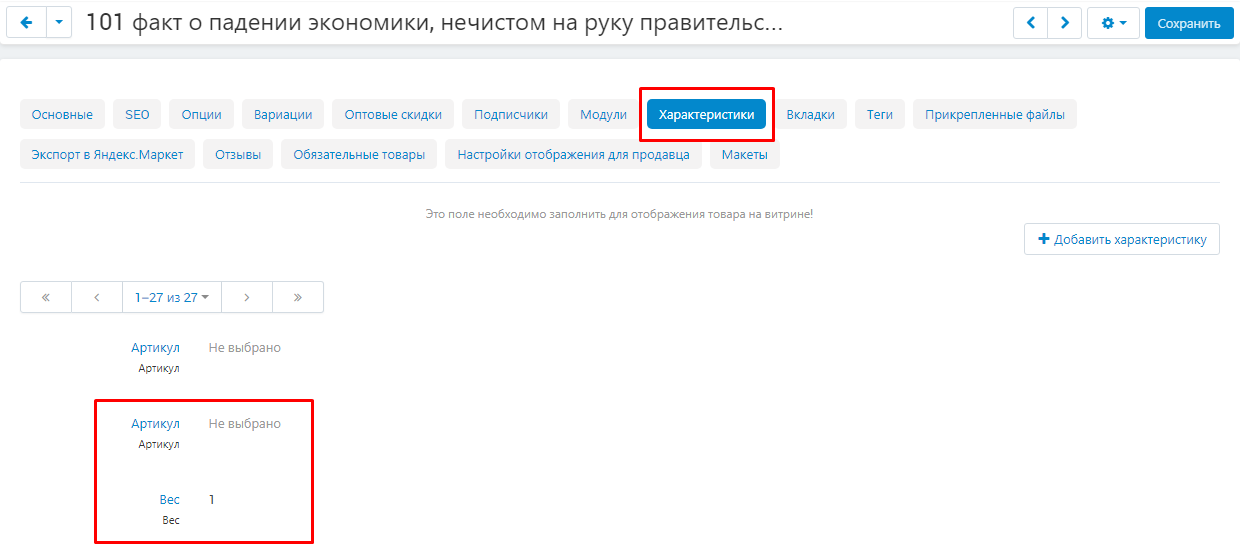
7. Please note that after installing the module, in the "General" tab, a section "Delivery parameters" will be added. It will no longer be displayed as a separate tab.
8. Note that in the "Characteristics" tab, at least one characteristic must be filled in for the product to be displayed on the storefront.
HIDE SELECTED TABS
The module allows you to make the product editing tabs invisible to the vendor or give him editing privileges.
1. To hide unwanted tabs, go to the "Products" tab and select the "Products" section.
2. In the list that opens, select the required product. To do this, click on its name highlighted in blue or black.
3. Inside the item card, select the "Display Settings for the Seller" tab..

4. To hide unwanted tabs, check the boxes in the "Hide" column.
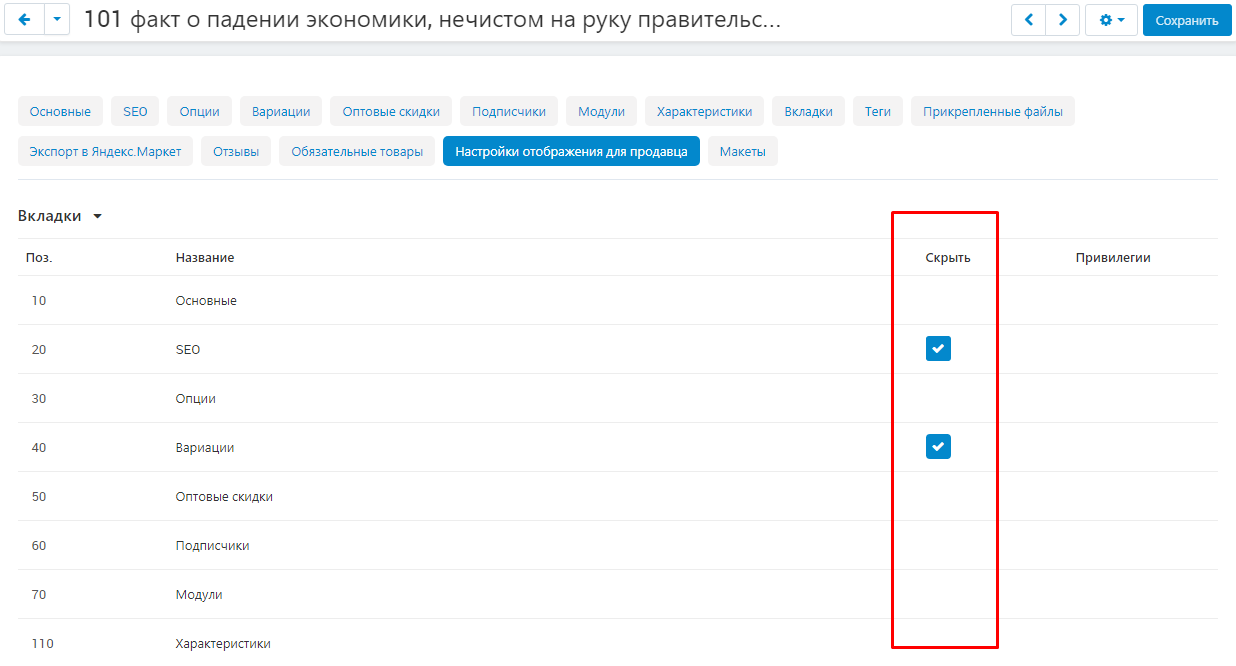
5. Save the changes by clicking on the "Save" button in the upper right corner of the panel.

6. After saving, the marked tabs in the product card will be hidden for the seller.
It was:

Became:

TABS FOR SETTING PRIVILEGES
If you need to block certain tabs until the vendor obtains certain privileges, then you can use the special functionality of the module.
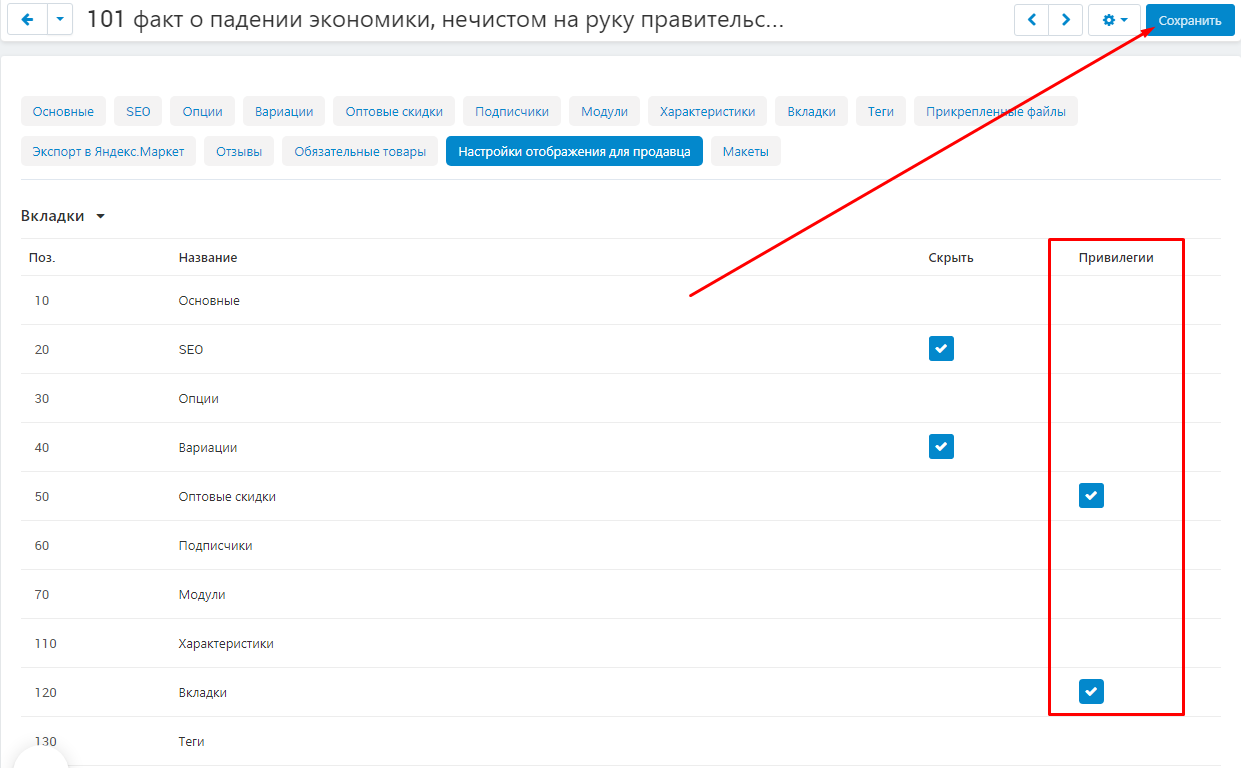
1. To do this, in the "Display Settings for Sellers" tab, mark the required tabs with a checkmark in the "Privileges" column and click the "Save" button.".
2. After the vendor receives the necessary privileges, the tabs can be unlocked. To do this, go to the "Customers" tab and select the "User Groups" section.
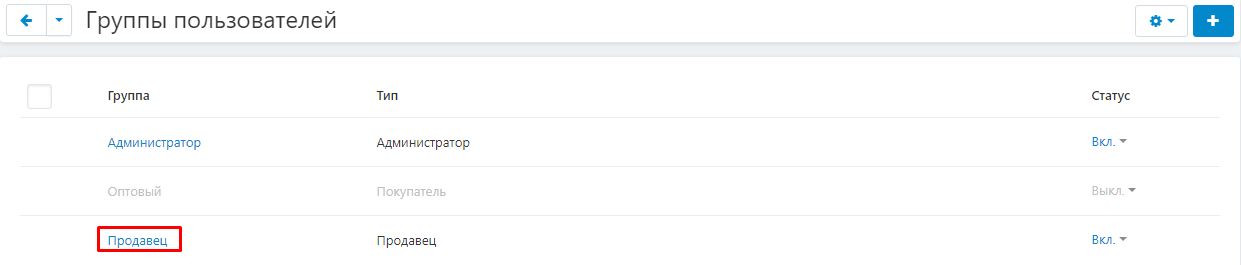
3. Select a group with the type "Seller" by clicking on its name highlighted in blue.

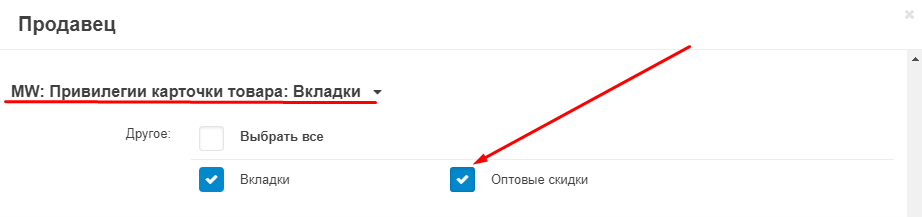
4. Select the section "MW: Product Card Privileges: Tabs" and tick the boxes to which the vendor has returned access.
5. And save the changes by clicking on the "Save" button in the lower right corner..
DISPLAYING AND PRIVILEGES OF MODULES IN THE PRODUCT CARD
1. Go to the tab "Display settings for the seller" in the product card..

2. Go to the "Modules" section and check the box in the "Show" column those modules that will be displayed by the seller.
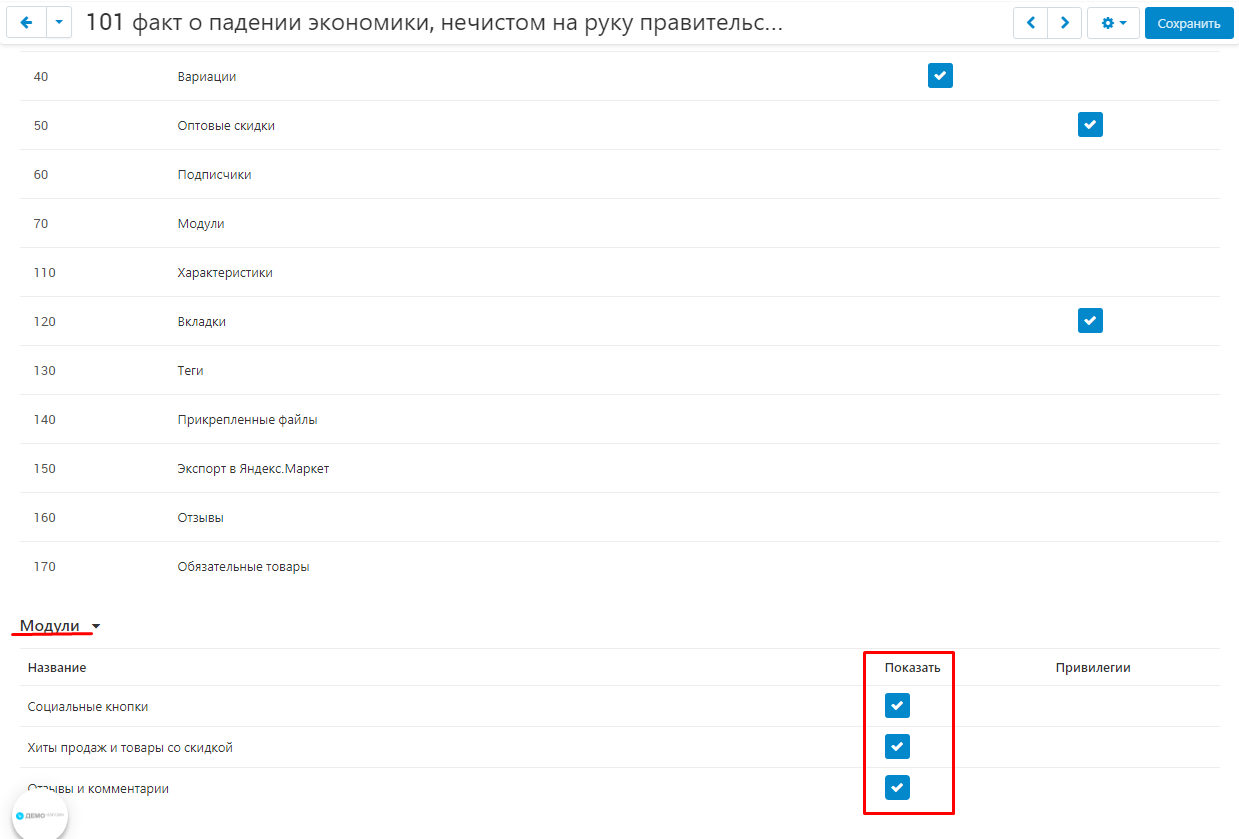
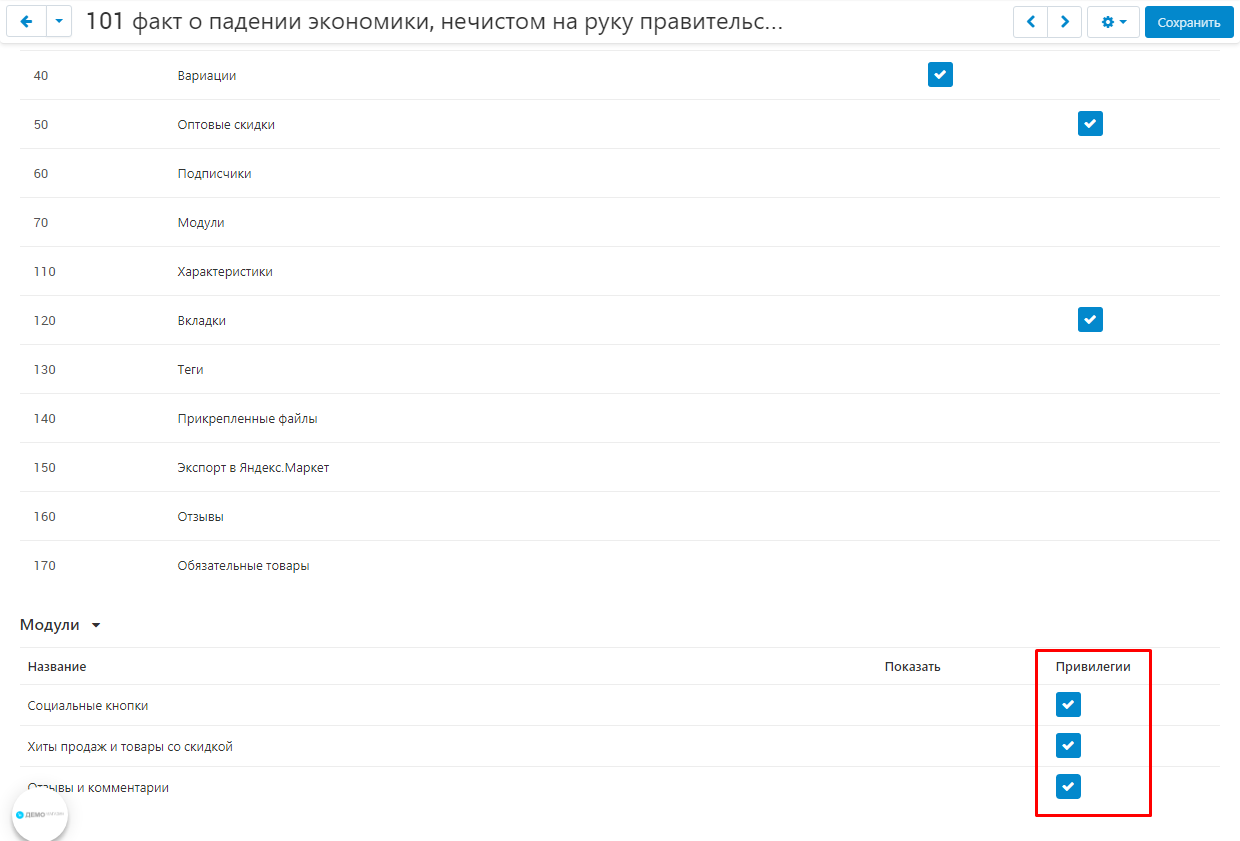
3. In the "Privileges" column, check the boxes for the modules for which the vendor needs additional privileges.
4. Save the changes by clicking on the "Save" button in the upper right corner of the panel.

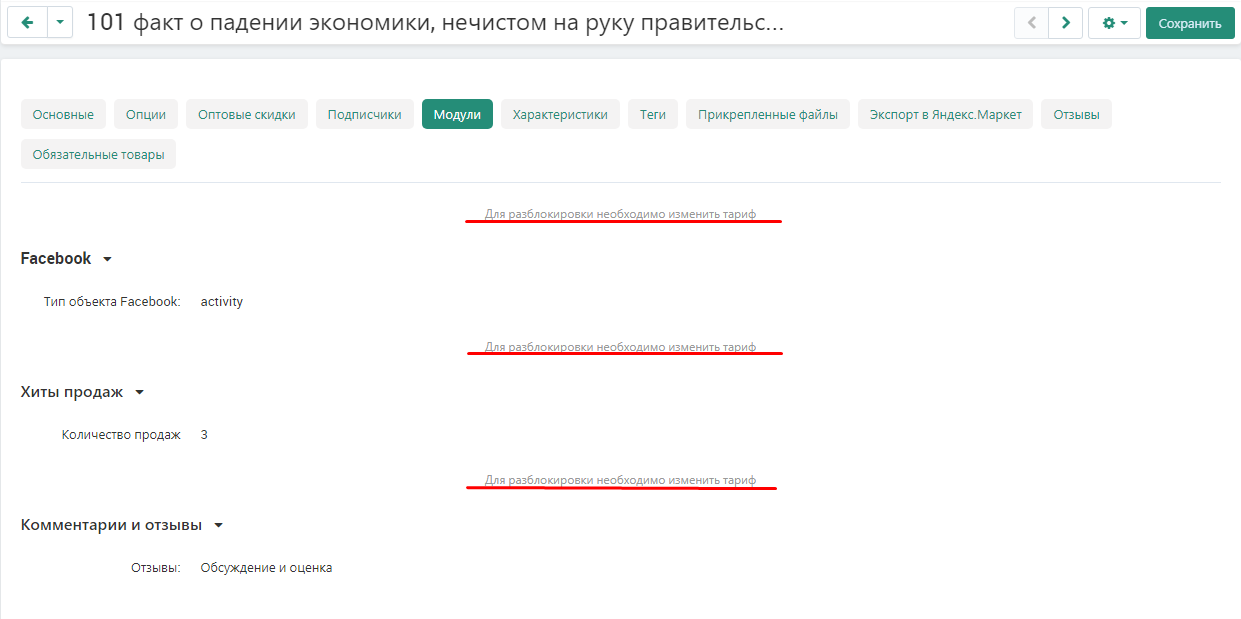
5. After setting up the privileges, the modules will be blocked in the seller's panel. The message "You need to change the tariff to unlock" is displayed.
6. To remove restrictions from the seller, go to the "Buyers" tab and select the "User groups" section.
7. Select a group with the type "Salesperson".
8. Select the "MW: Product Card Privileges: Modules" section. Select the checkboxes for the modules that are open to the vendor or next to the "Select all" item to mark all.
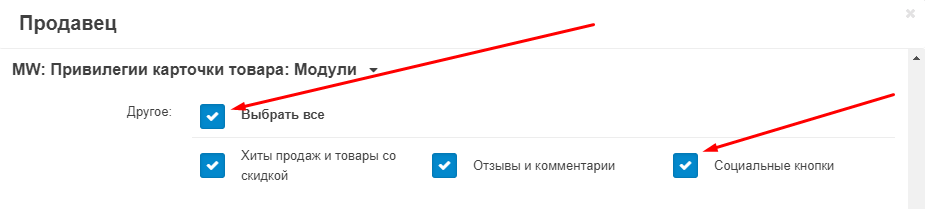
9. Save your changes by clicking on the blue "Save" button in the lower right corner of the window.

REMOVING LINKS FROM TEXT
1. To remove hyperlinks from all promo texts, go to the "Sellers" tab and select the "Sellers" section..
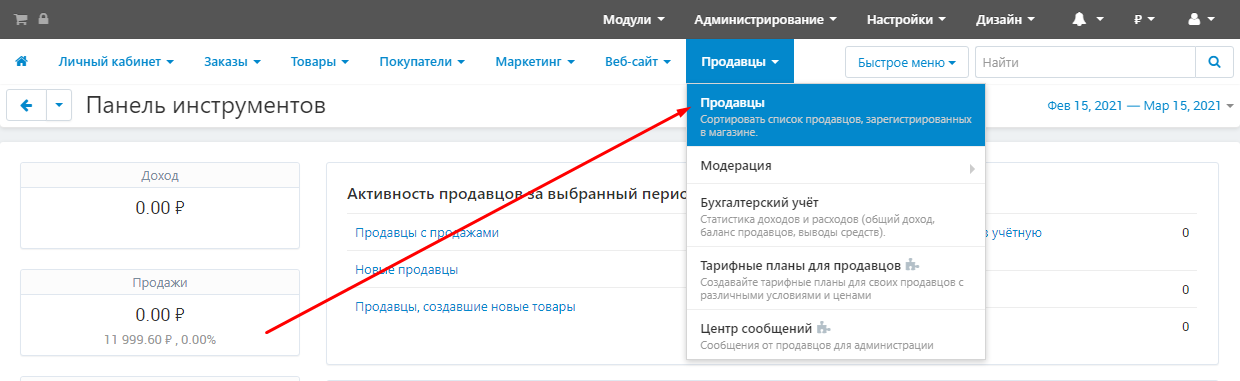
2. In the list that opens, select the required seller. To do this, click on its name highlighted in blue.
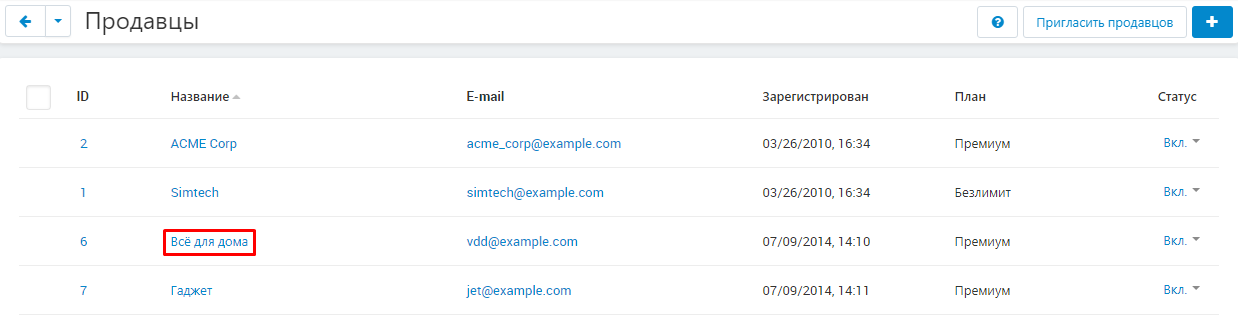
3. Select the "Product Card Privileges" tab.

4. To remove hyperlinks, check the "Clear links from descriptions" box.
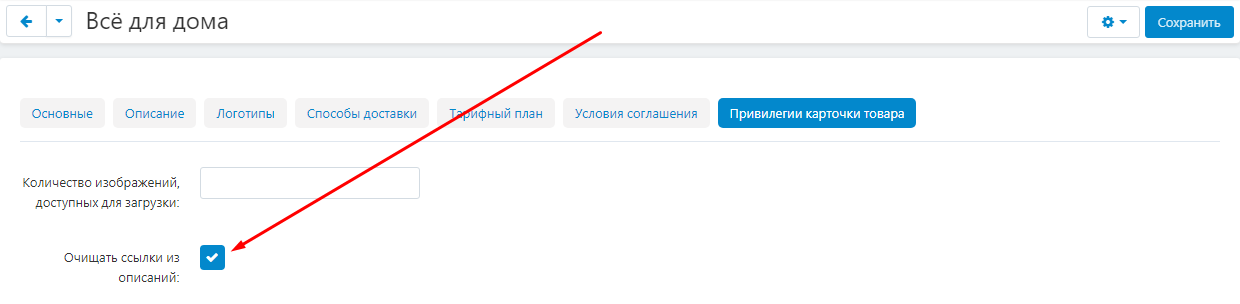
5. Save your changes.

SET A LIMIT ON THE NUMBER OF PHOTOS
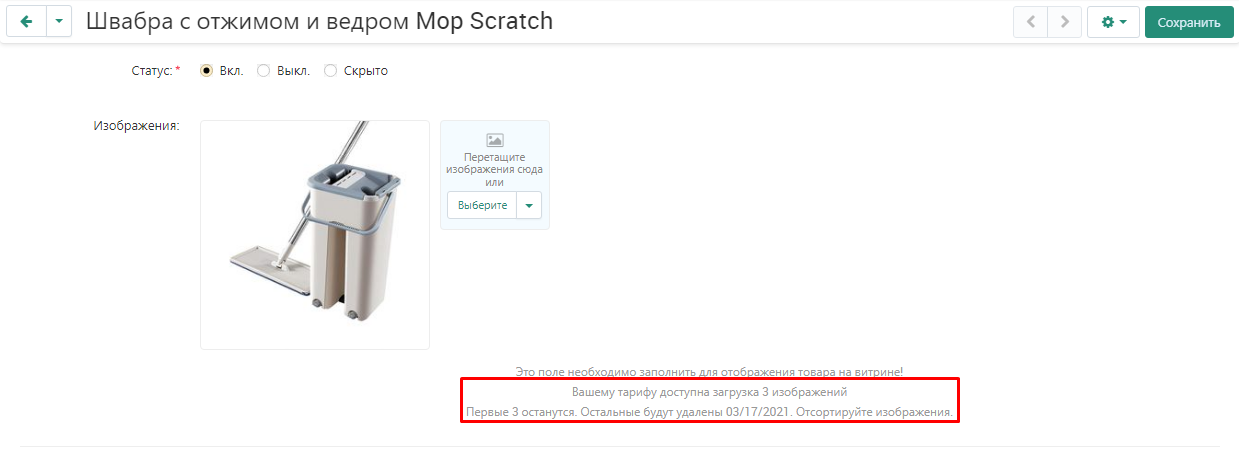
1. To set a limit on the number of photos for a specific seller, in the "Product card privileges" tab, enter the required value in the "Number of images available for download" item and click the "Save" button".

2. After setting the limit, changes will take place in the seller's panel. In the product cards, in the "Main" tab, under the product image, a message will appear: "Your tariff can download _ images. The first _ will remain. The rest will be deleted __ / __ / ___. Sort the images."
SET A LIMIT ON THE NUMBER OF CATEGORIES
1. To set limits for the vendor on the number of categories used, go to the "Buyers" tab and select the "User groups" section.
2. Select a group with the type "Salesperson".
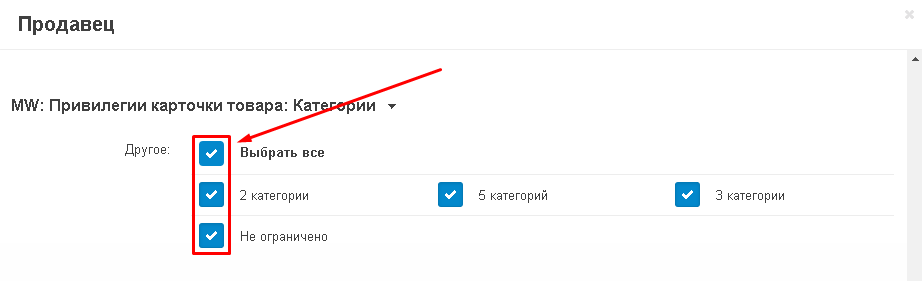
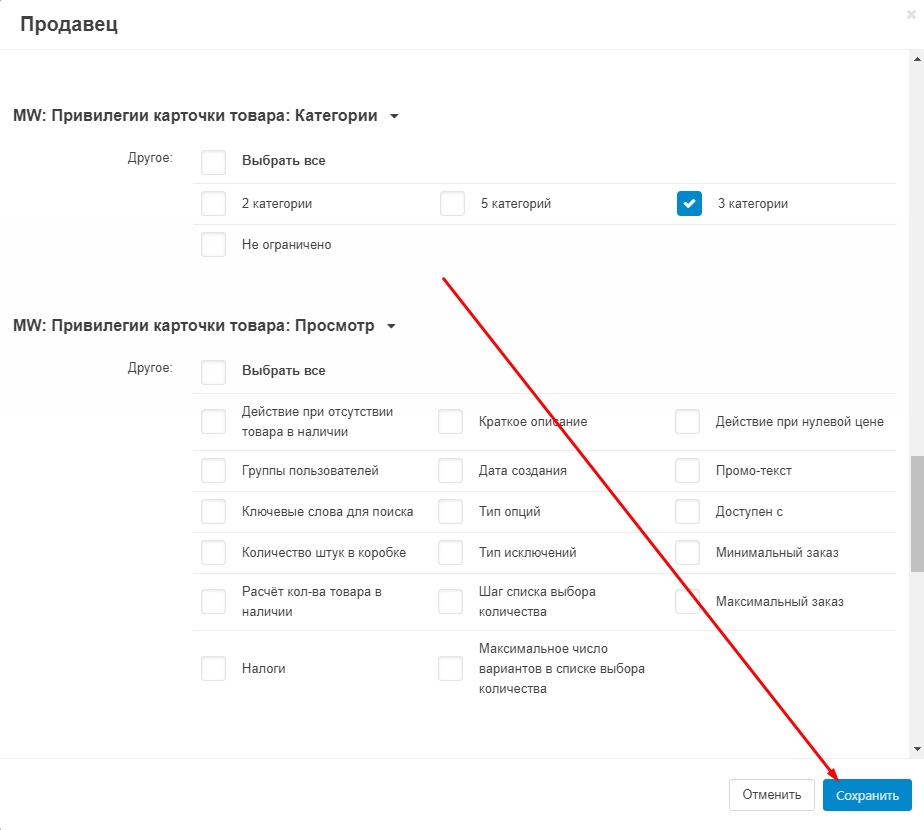
3. Select the section "MW: Product Card Privileges: Categories" and tick the number of categories that the sellers will be allowed to use.
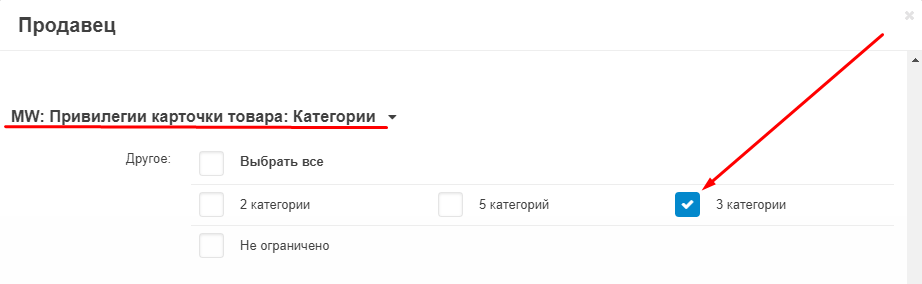
4. Save your changes.
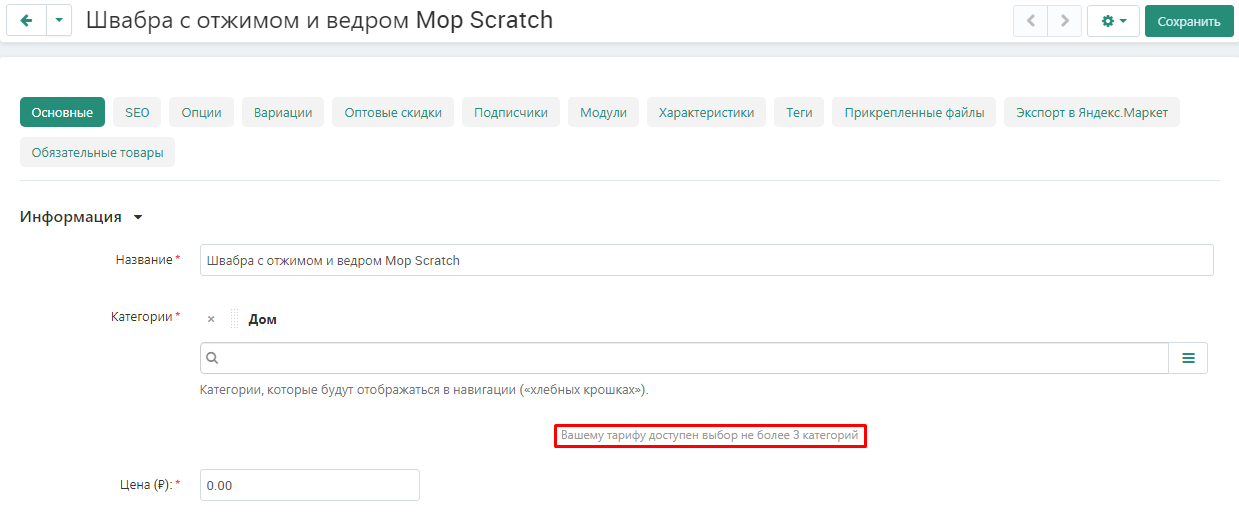
5. After setting the restrictions, the vendor will display the message "Your tariff can select no more than _ categories" in the product card.