Category markup for Multi-Vendor
Category markup for Multi-Vendor
The module allows you to set a markup for a category and a subcategory in the current store currency or percentage.
SPECIFICATIONS
- Creating a system of settings for categories and subcategories;
- Setting up a mark-up system;
- Application and cancellation of extra charges;
- Works on CRON for created or updated products.
MODULE SETTINGS
1. To configure a module, go to the "Modules" tab, in the pop-up menu, select "Modules Management" and the "MAURISWEB" section.

2. In the list that opens, select the module you are interested in and click on its name, highlighted in blue or black.

3. На открывшейся странице выберите вкладку "Общие настройки", перейдите в раздел "Лицензирование" и в поле "Лицензионный ключ" введите лицензионный ключ, который имеется в вашем аккаунте на www.maurisweb.ru в списке купленных модулей и также выслан вам на электронную почту.

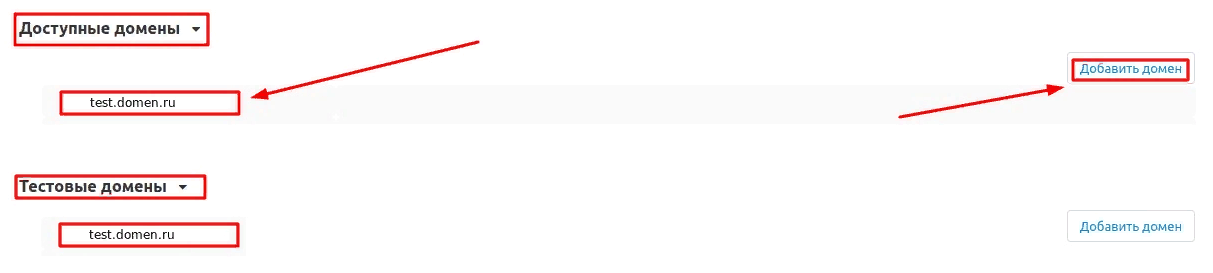
4. In the "Available domains" and "Test domains" sections, check the correctness of the specified domains. You can add additional domains by clicking on the white "Add Domain" button on the right side of the page. The total number of domains should not exceed three.
5. Go down below, select the "Basic settings" section and tick the box "Save data when removing the module" so as not to lose them when reinstalling the module.

6. Save the module settings by clicking on the blue "Save" button at the top right of the panel.

PRIVILEGE
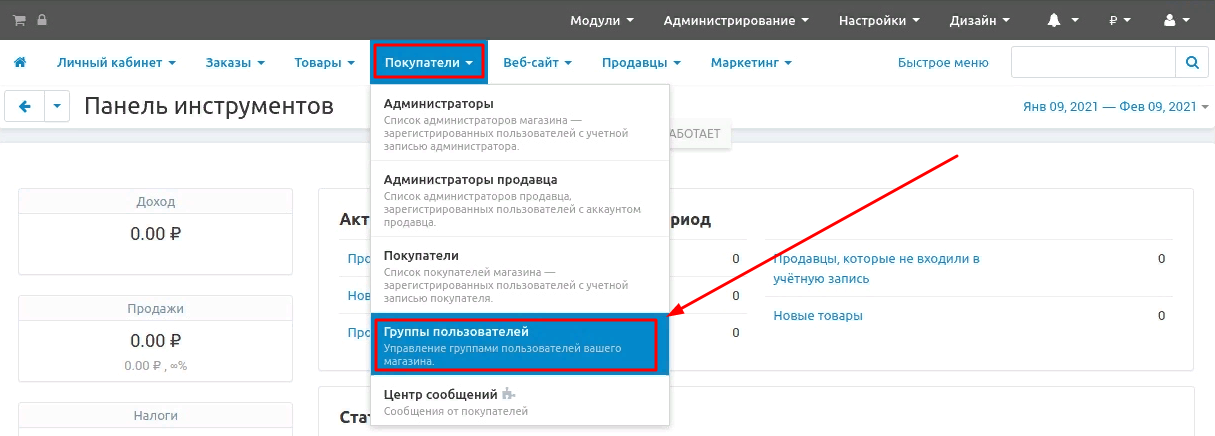
1. To set up privileges, go to the "Customers" tab and select the "User Groups" section.
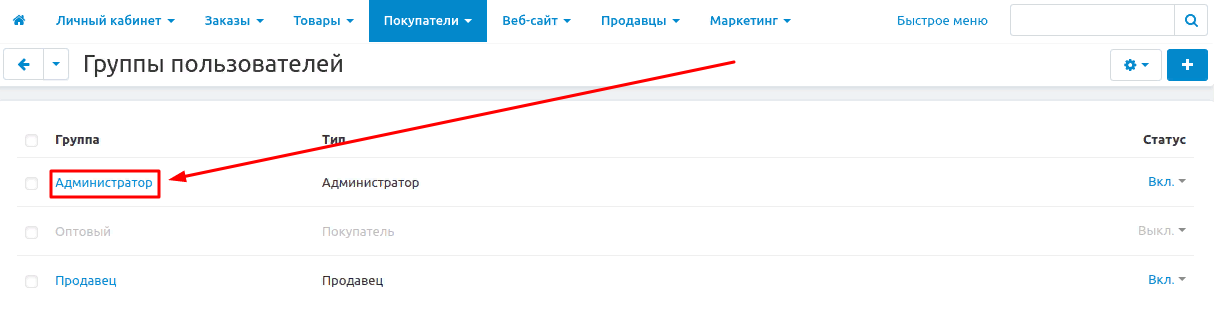
2. In the list that opens, select the required group and click on its name highlighted in blue.
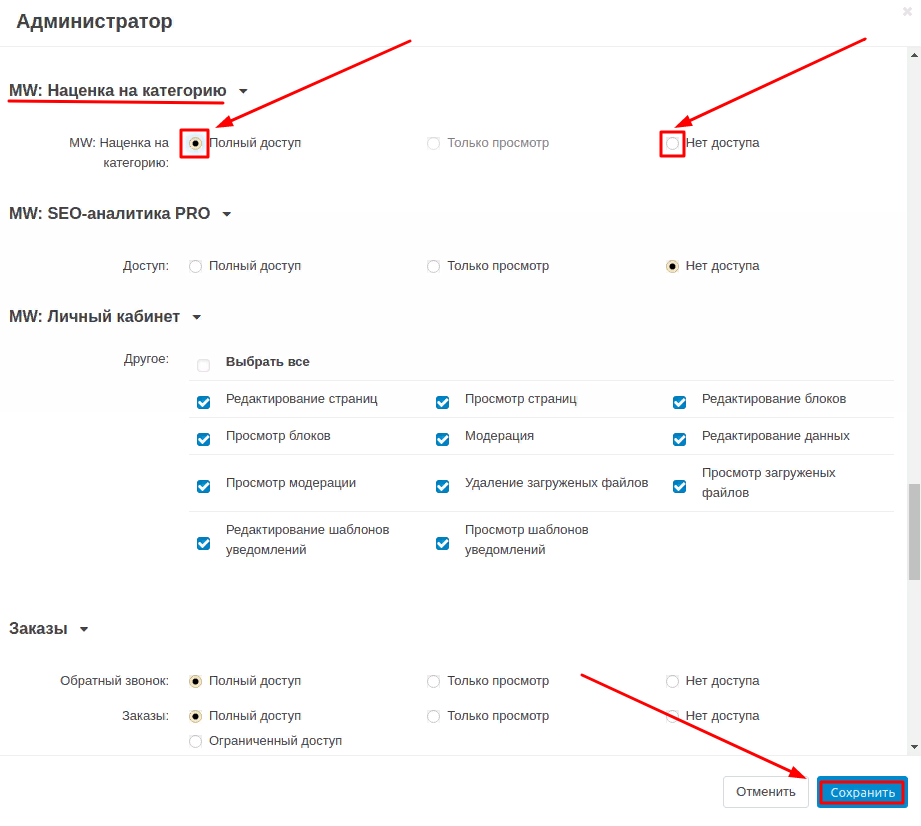
3. Go to the "MW: Category Surcharge" section and select one of the available items: "Full Access" or "No Access".
When finished, click the blue "Save" button in the lower right corner of the window.
FUNCTIONALITY OF THE MODULE
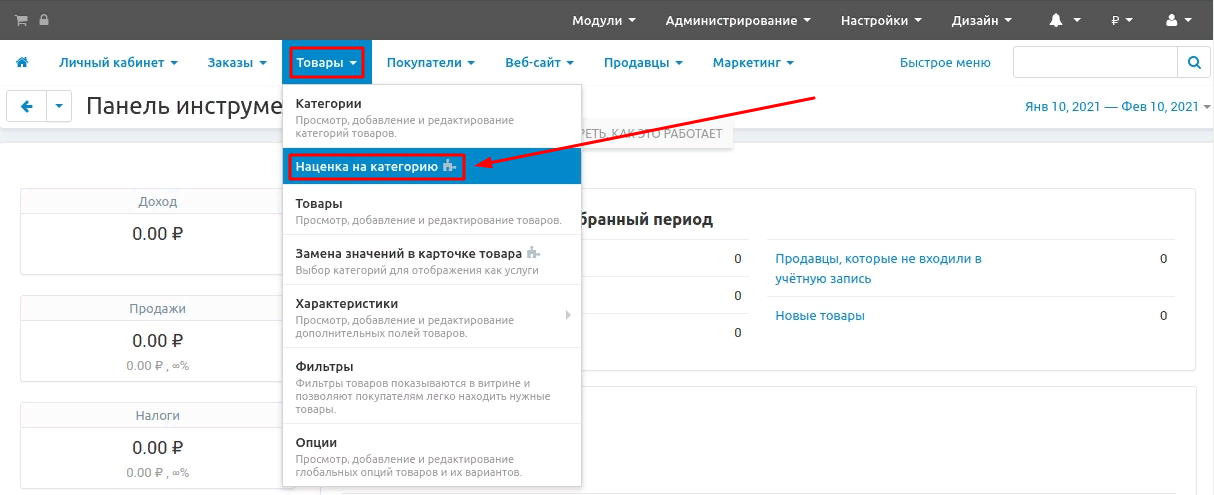
1. To set up a category markup, go to the "Products" tab and select the "Category markup" section.
2. On the page that opens, click the white "Add" button at the top right of the panel.

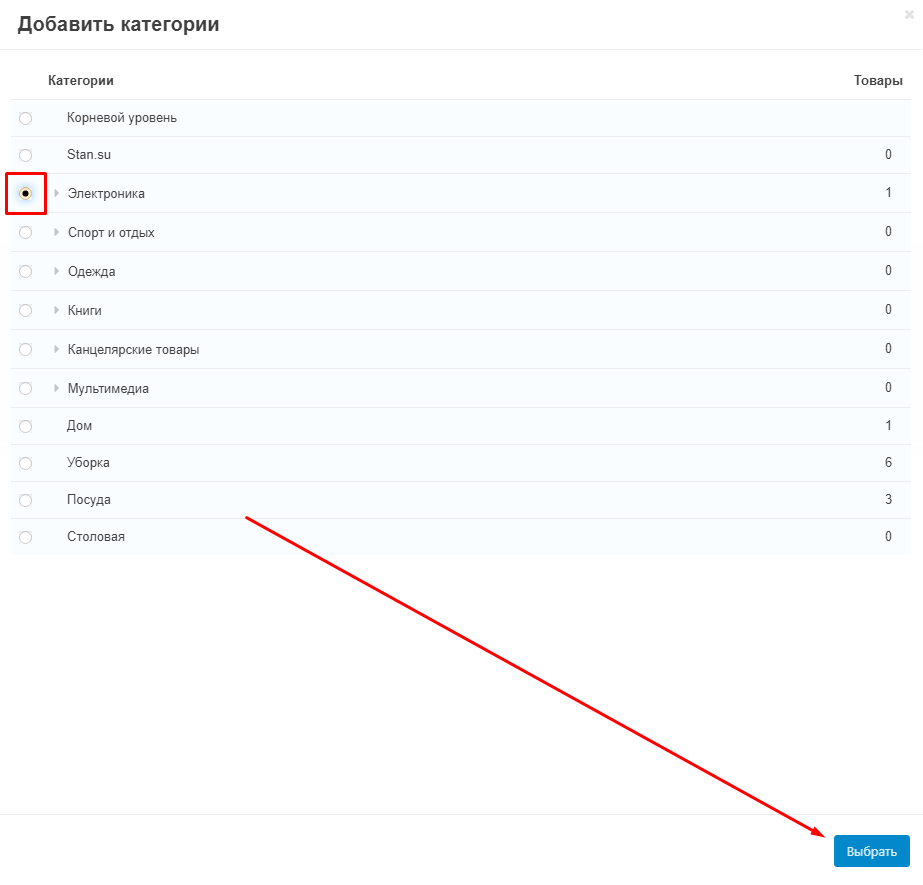
3. Go to the "Category" section. To select the desired category, click on the blue plus button.

4. Mark the desired category with a circle and click on the blue "Select" button in the lower right corner of the window.
It should be borne in mind that categories for which there are already settings will be overwritten. The parameters will be applied to all products in the category. After removing these settings, the status of the products will be changed to "Hidden".
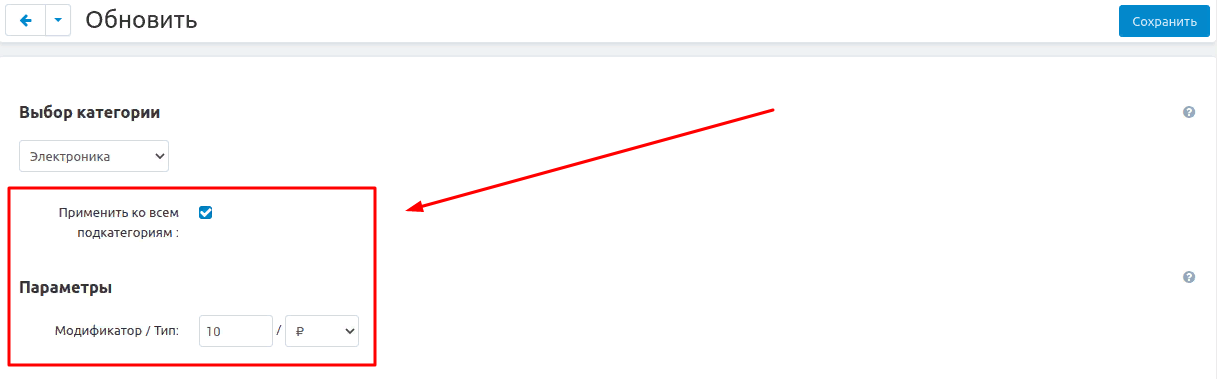
5. In the "Apply to all subcategories" section, check the box to apply the markup to all subcategories.

6. In the "Modifier" section, enter a markup value.

7. In the "Type" section, expand the list and select one of the two possible options for the markup:
- rubles (₽)
- percent (%)
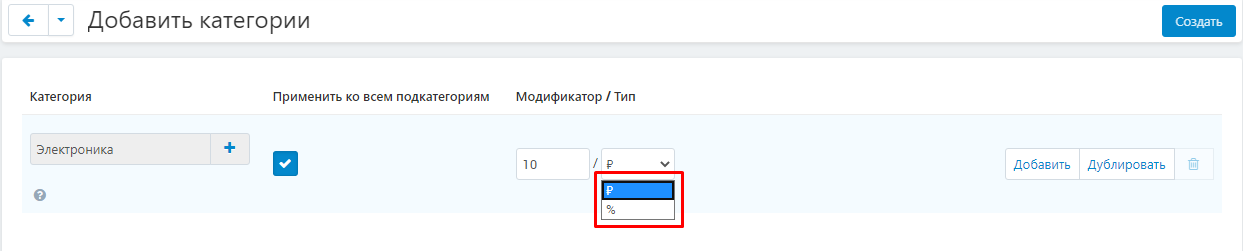
8. When finished, click on the blue "Create" button in the upper right corner of the panel.

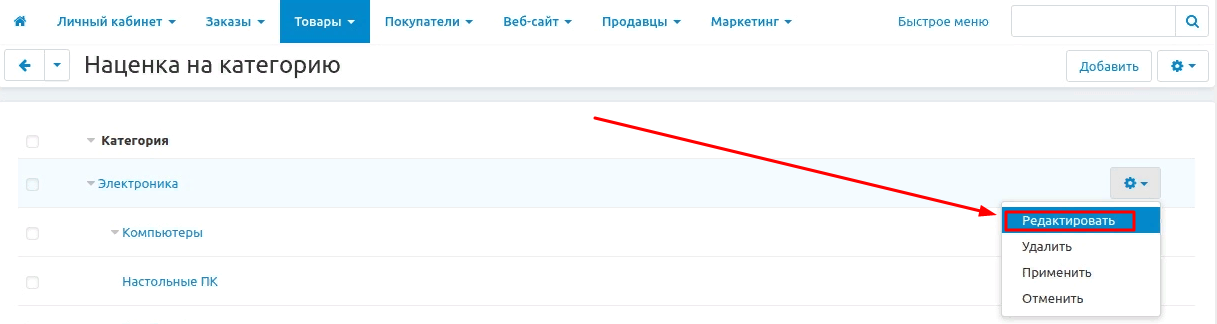
9. Now the page will display the entire category and its subcategories. When you move the tower to the right corner of the line, a blue gear-shaped button will be reflected, when you click on it, the "Edit" functions will become available. "Delete", "Apply", "Cancel".
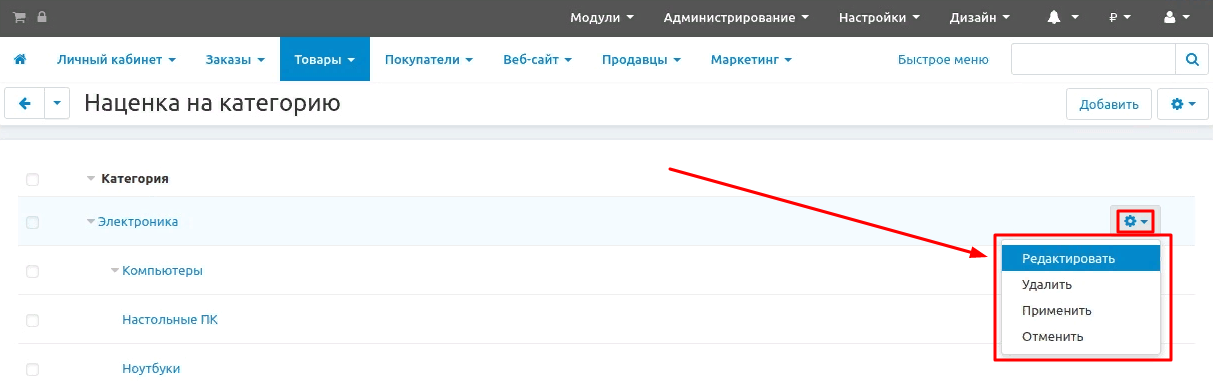
10. To make changes, select the "Edit" function.
11. On the updates page, all sections for setting up the markup will be available again
12. When all changes have been made, click on the blue "Save" button at the top right of the panel.

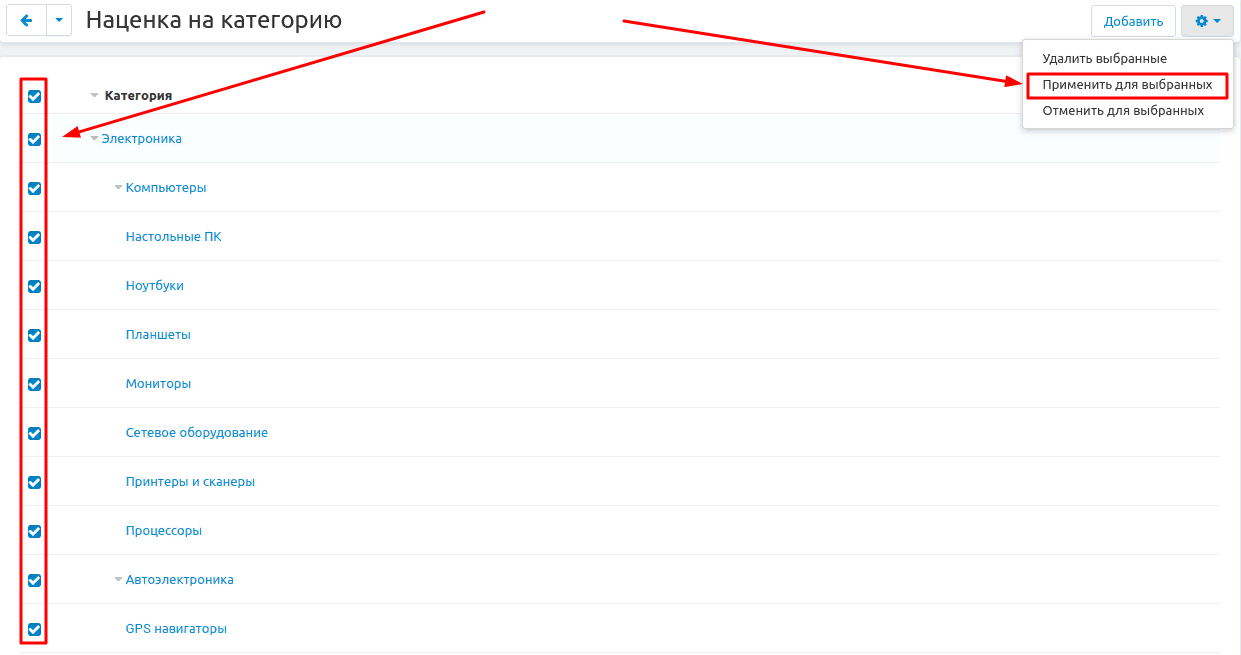
13. On the "Category markup" page, you can select separate categories and subcategories. In order to make changes to them, click on the blue gear-shaped button in the upper right corner of the panel. When pressed, the following functions will be available: "Delete Selected", "Apply to Selected", "Cancel to Selected".

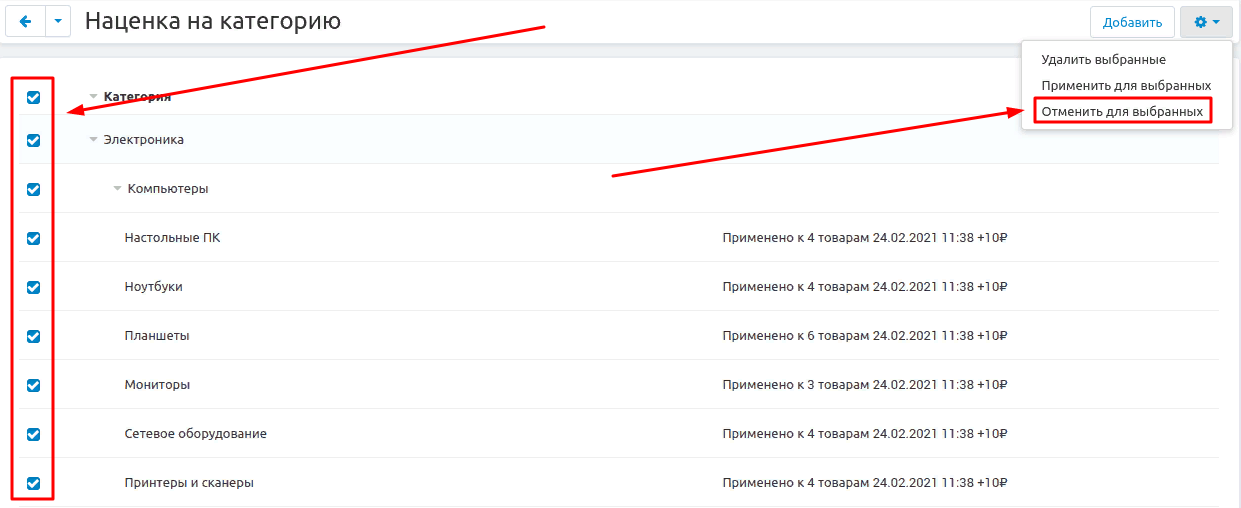
14. To mark up a category and all its categories, put a tick next to the "Category" item - it will highlight all the others. Alternatively, select only those categories and subcategories for which you need a markup.
In order to apply the markup to the marked category and subcategories, click on the gear-shaped button and select the "Apply to Selected" function.
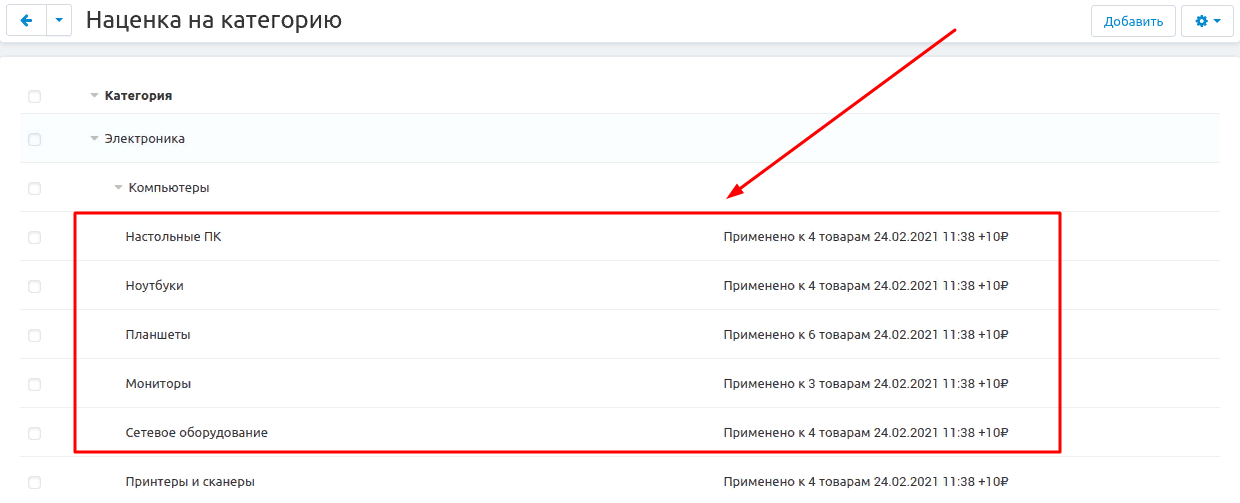
15. Marked subcategories will change color from blue to black (now they will be inactive). The right half of the table will display information about the quantity of goods to which the markup is applied and its size.
16. In order to remove the extra charge, you need to tick the necessary categories and subcategories, then click on the gear-shaped button and select the "Cancel for selected" function.
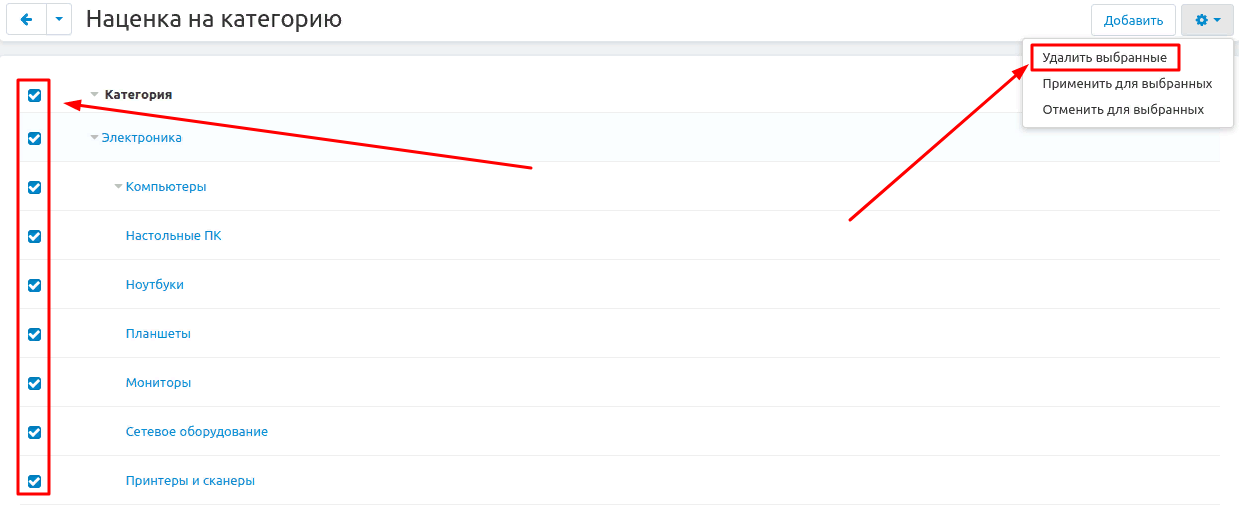
17. The categories and subcategories will now turn blue (active) again. To delete categories and subcategories, mark the new items with a tick, then click on the gear and select the "Delete Selected" function.
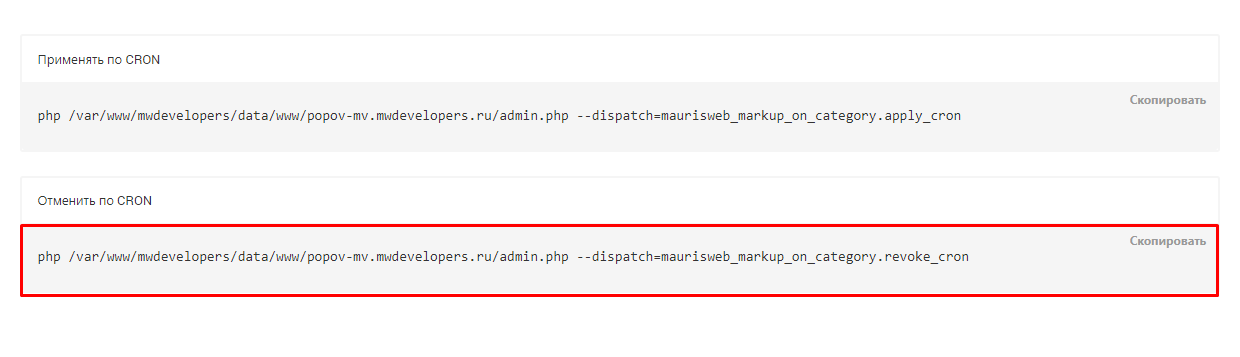
18. CRON commands will also be displayed at the bottom of the page. Enter the command "Apply by CRON" into the scheduler.
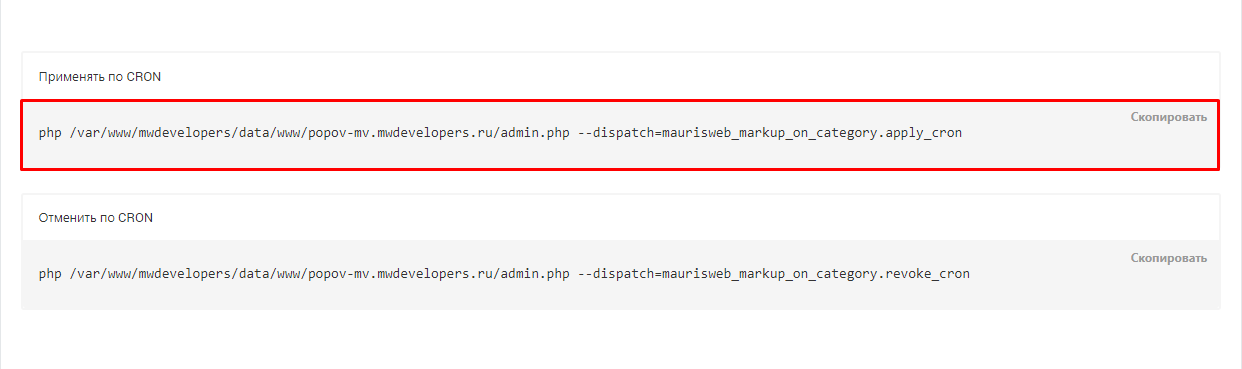
19. To cancel the CRON markup, enter the appropriate command in the scheduler.
VERIFICATION OF THE RESULT
1. To go to the storefront and check the result of the changes made, click on the basket-shaped icon in the upper left corner of the panel.

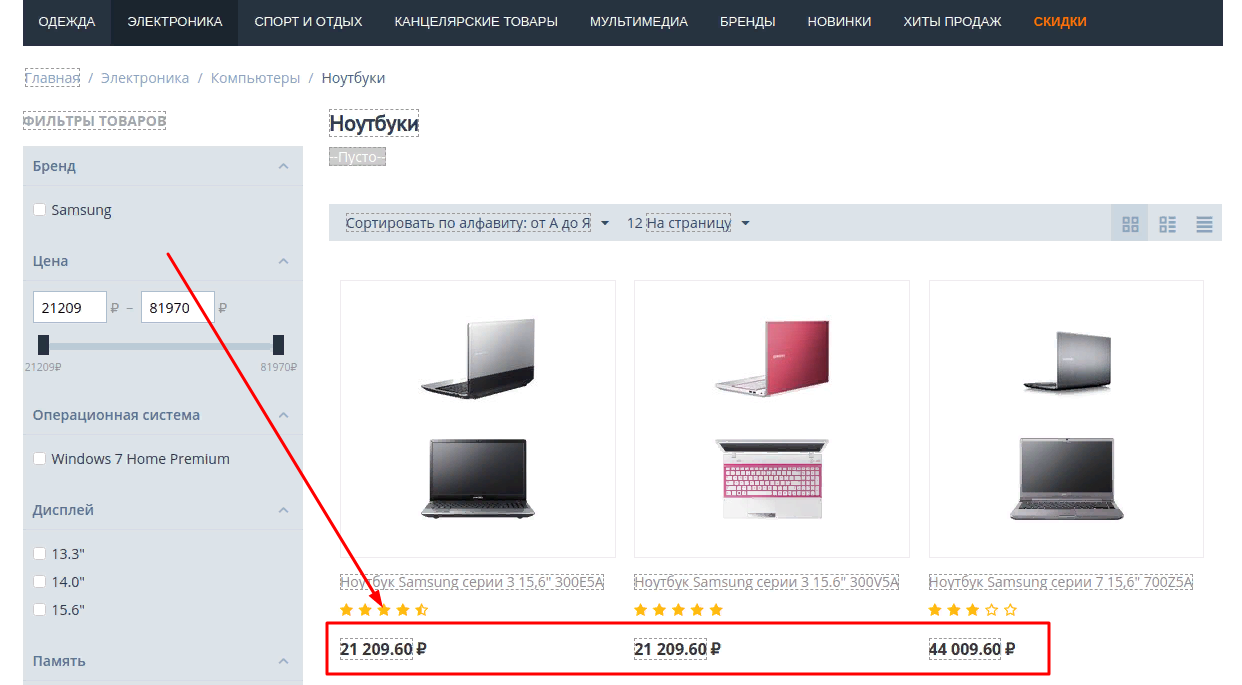
2. When the showcase opens, select the category in the catalog for which the markup was set.
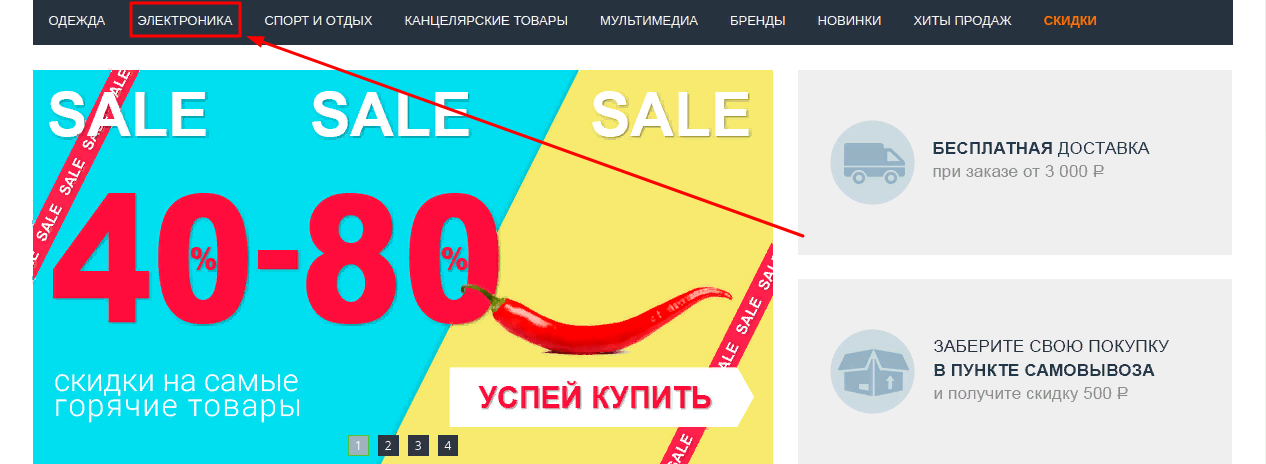
Before extra charge:
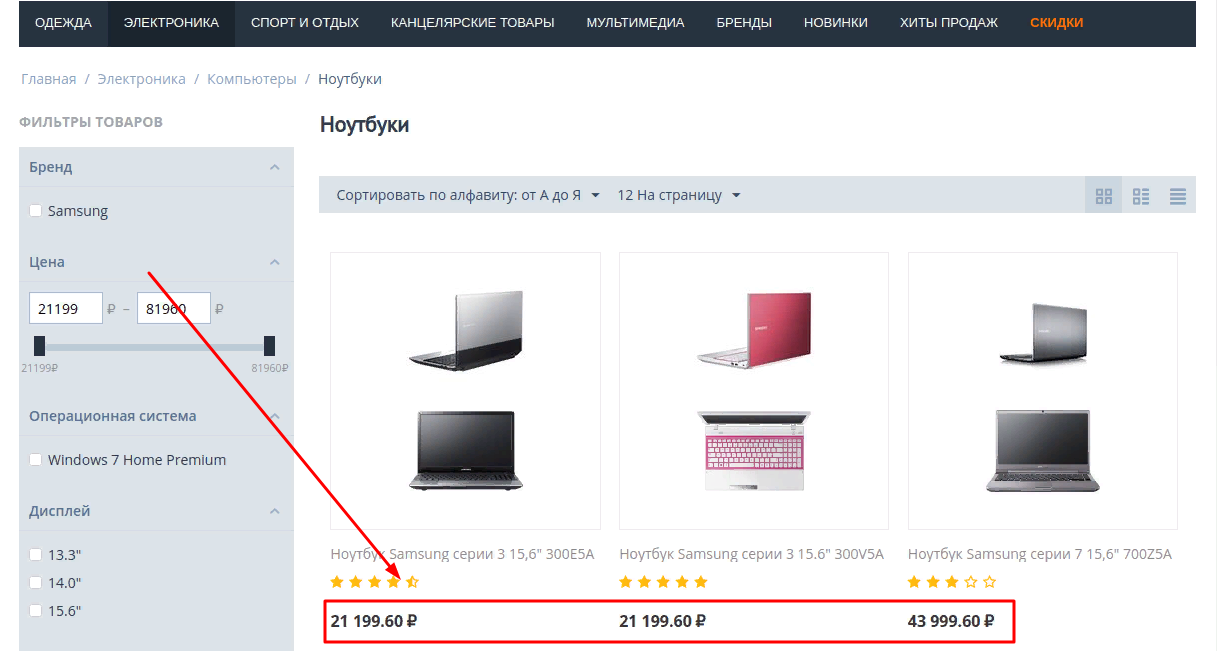
After the mark-up: